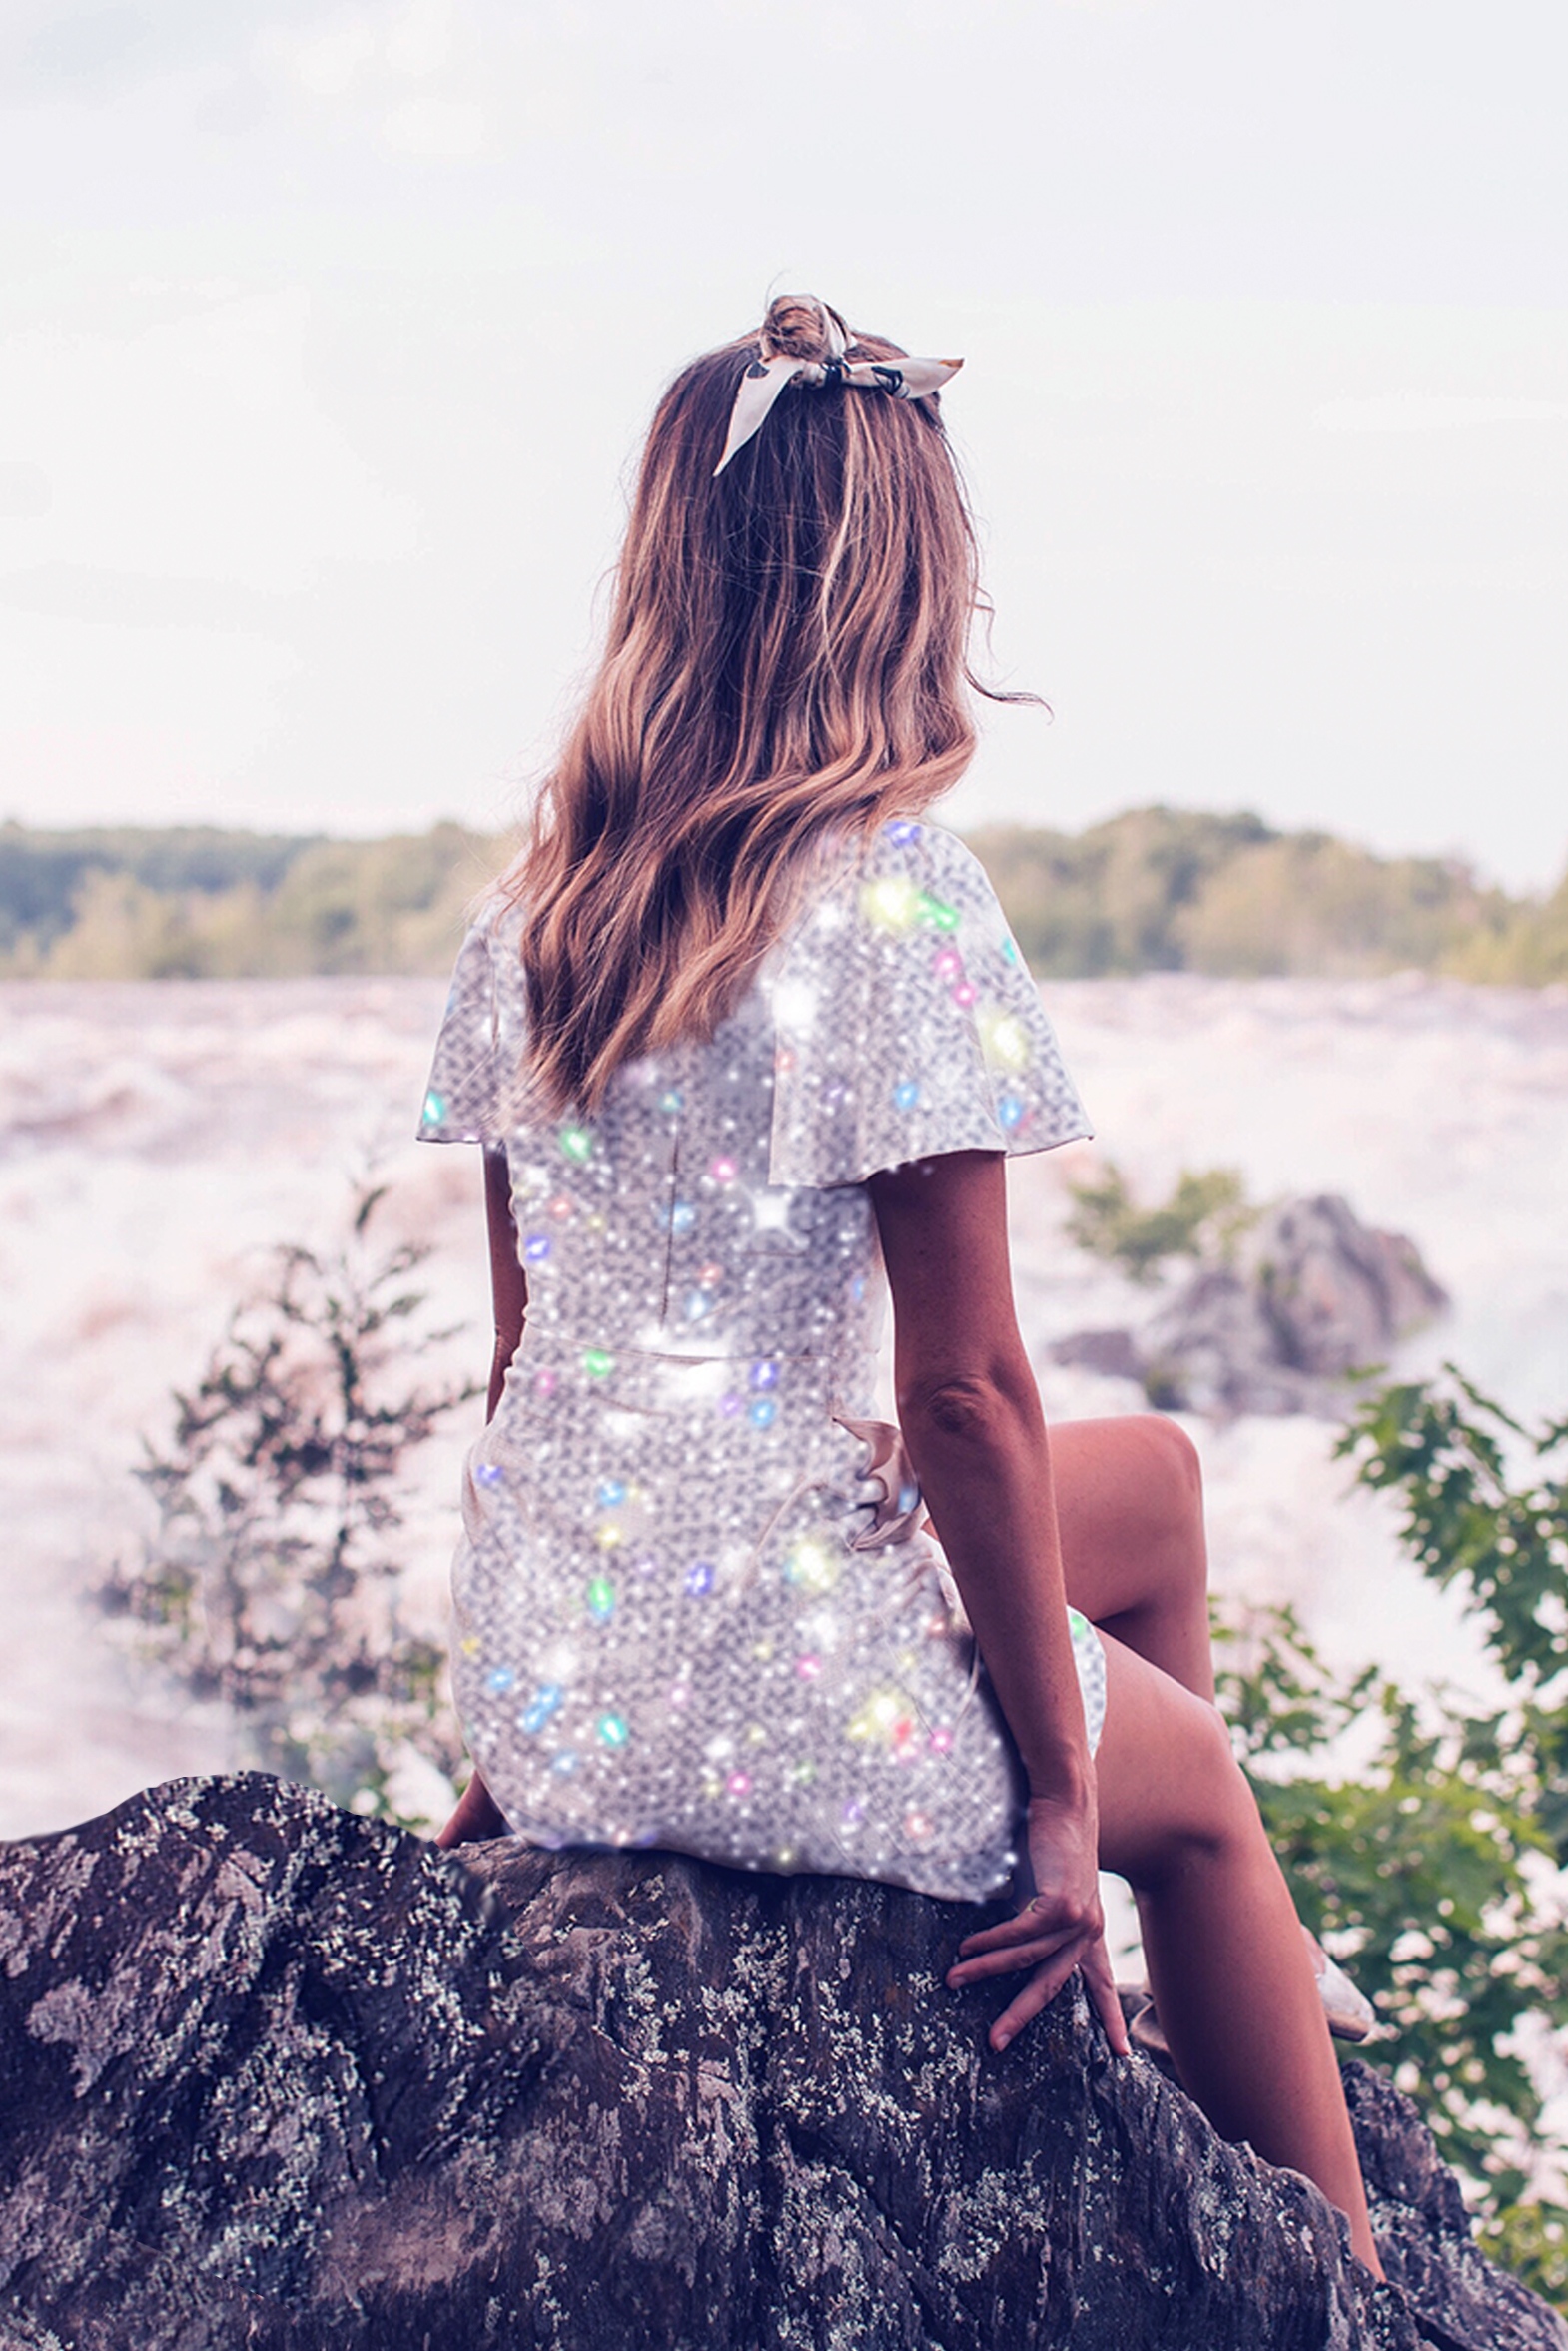

Well, if you’ve been following me for a while, you already know I’m a huuuuuge fan os the app Meitu, right? Basically everything photo and video edit I do (on my phone!!) I use Meitu. If I’m on my computer, I’ll definitely go with Photoshop.
I try to use other apps, I look for cool options, but Meitu just had lots of funtions that I love, so it ends up being my favorite option, even when compared to others hahaha 💖💖💖
After such an introduction, you must have figured it out that I use Meitu to add bling effect to my photos, right?
But keep on reading because I’ll teach you step by step how to do it. Some tools on Meitu are not as intuitive and easy to find as we’d hope. This is one of them.


Here’s a quick tutorial on how to add the glitter effect to your pics using Meitu:
✨ Start Meitu
✨ Click “Edit” and pick your image
✨ Click the option “Mosaic”
✨ Go to “More” to downlod the textures
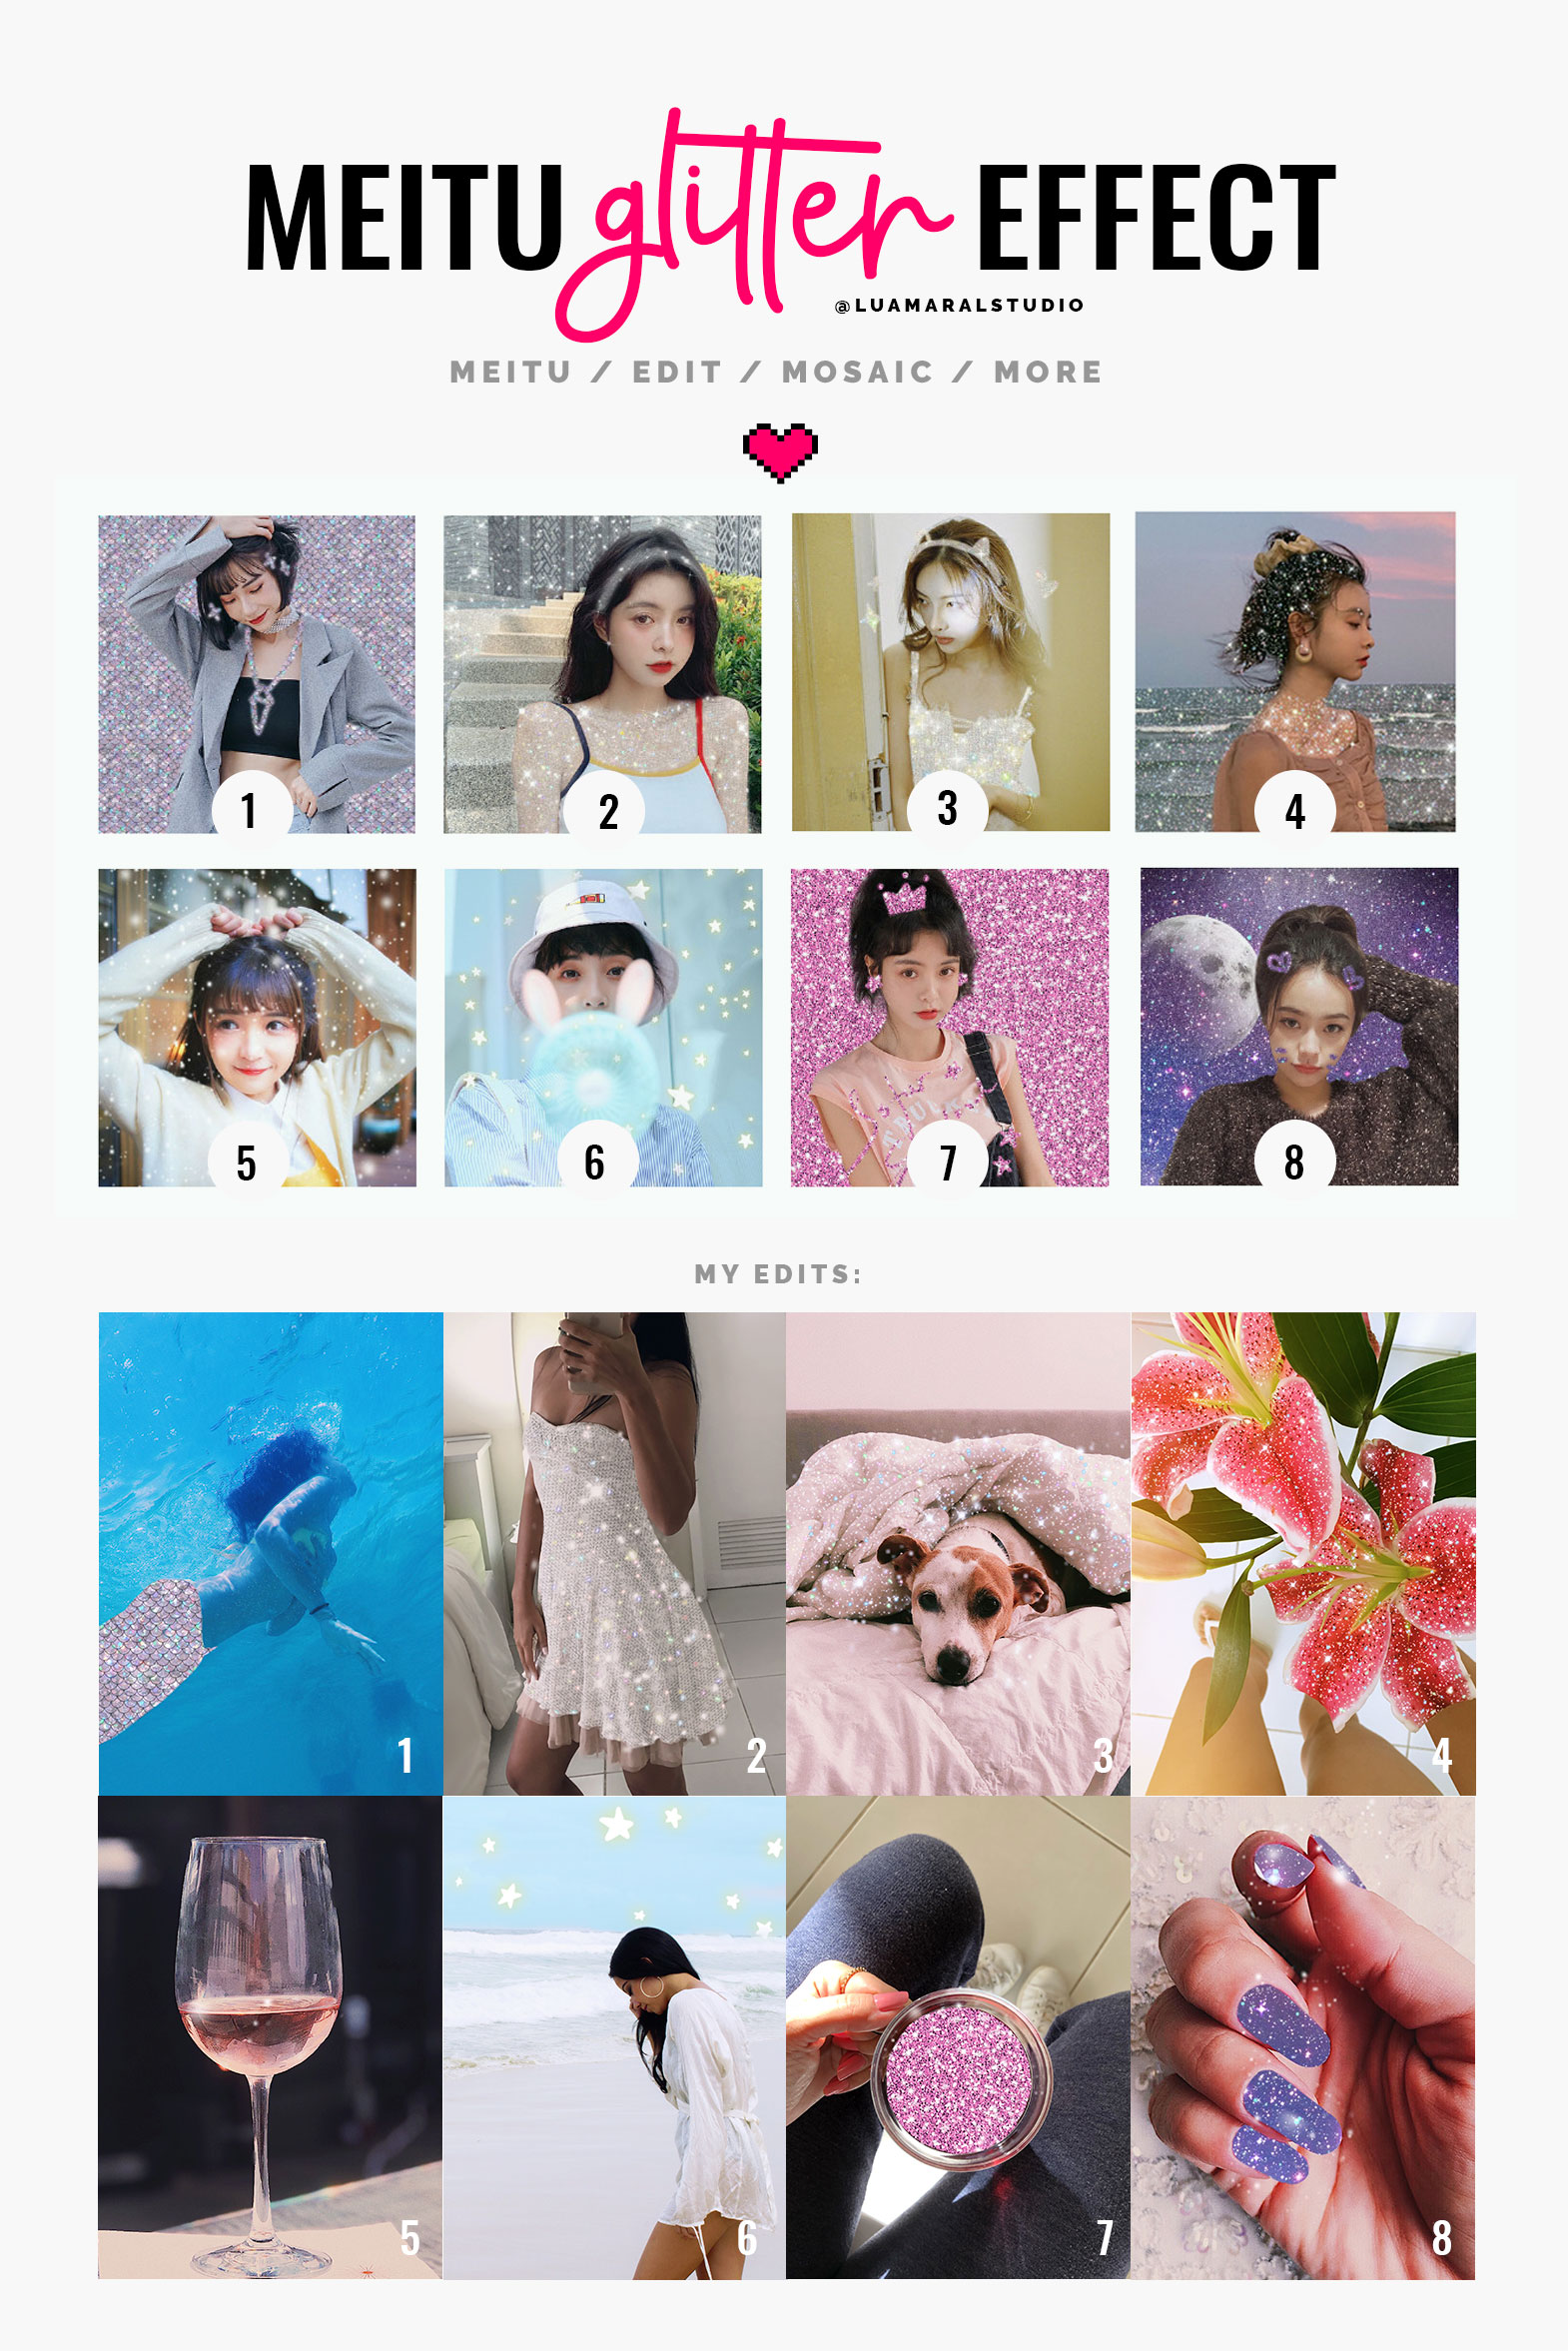
✨ Find your favorites! Here are mine:

All you have to do now is fill in the areas you’d like to put sparkles on. That simple!
You can also use the eraser to clean errors and perfect the filling. Use the zoom tool and the different sizes of the brush to make sure you get every little corner right!
You’ll notice some of the textures are clear, while others have an opaque effect. You should pick which one works better for the design you’re working on. They’re all great, but serve to different purposes.

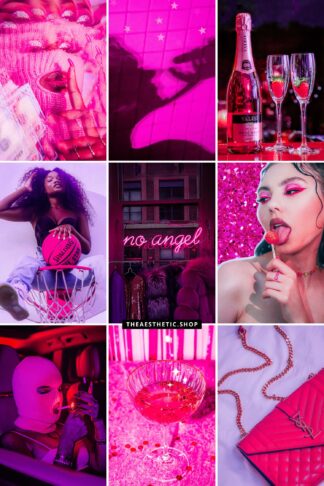
💡Tip: I think it can make the effect nicer when I add a few sparkly dots around the filled area. On Image 7, for example, I used texture number 5 around the cup so that it’d look a bit more natural.
My glitter effect edited photos
How you like the tutorial and put it to practice soon ✨✨✨✨
Beijos!
Lu







[…] Watch now : https://www.theaesthetic.shop/2021/04/aesthetic-edit-como-fazer-efeito-glitter-na-foto/ […]