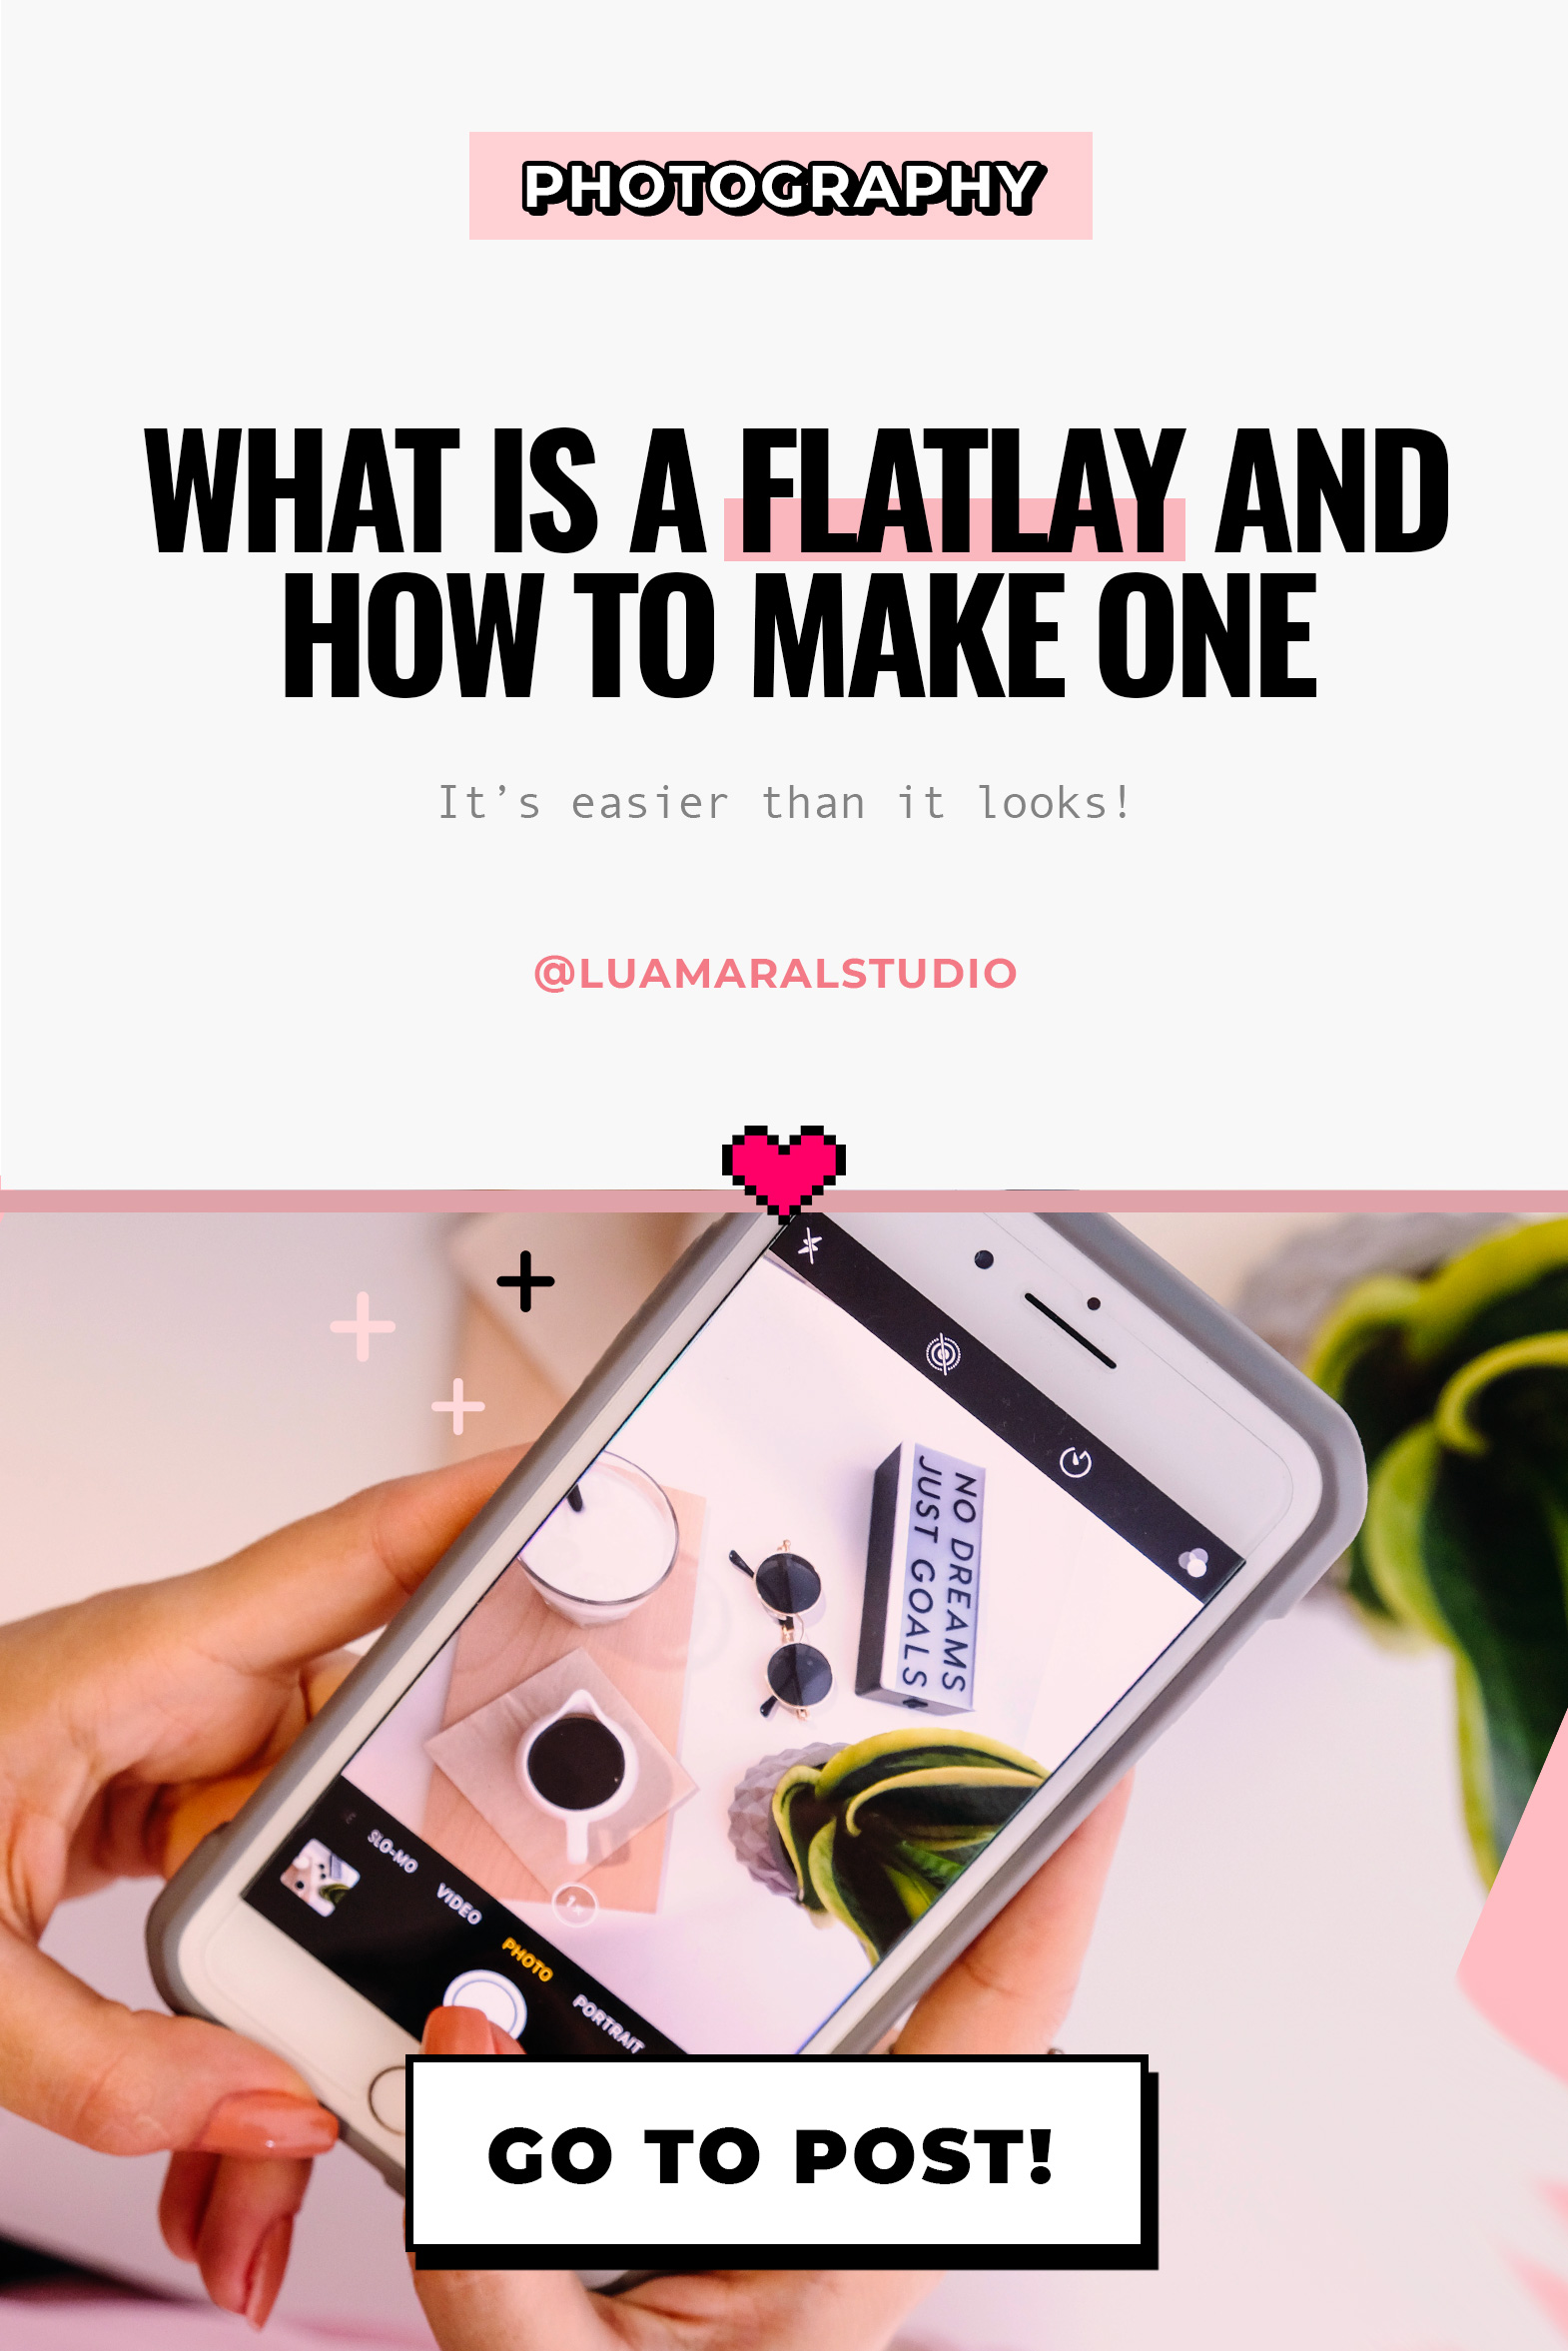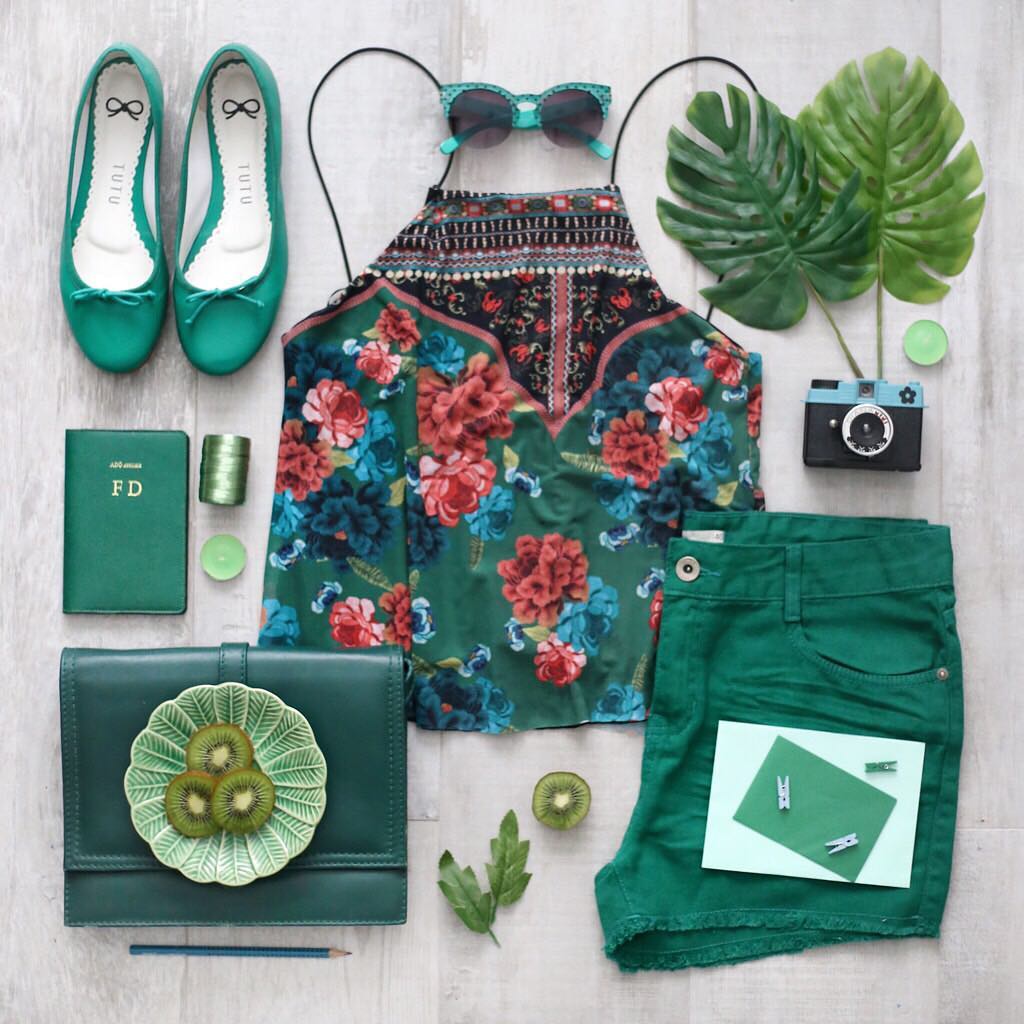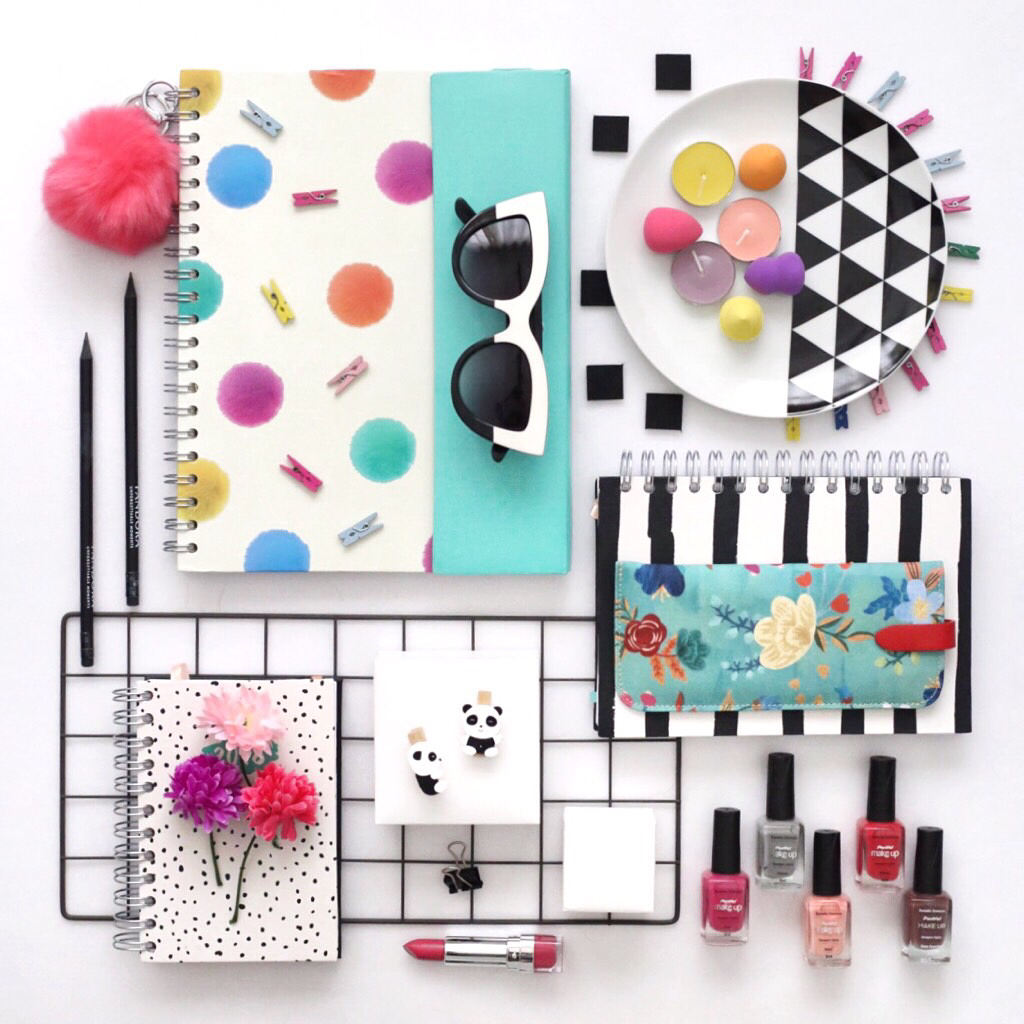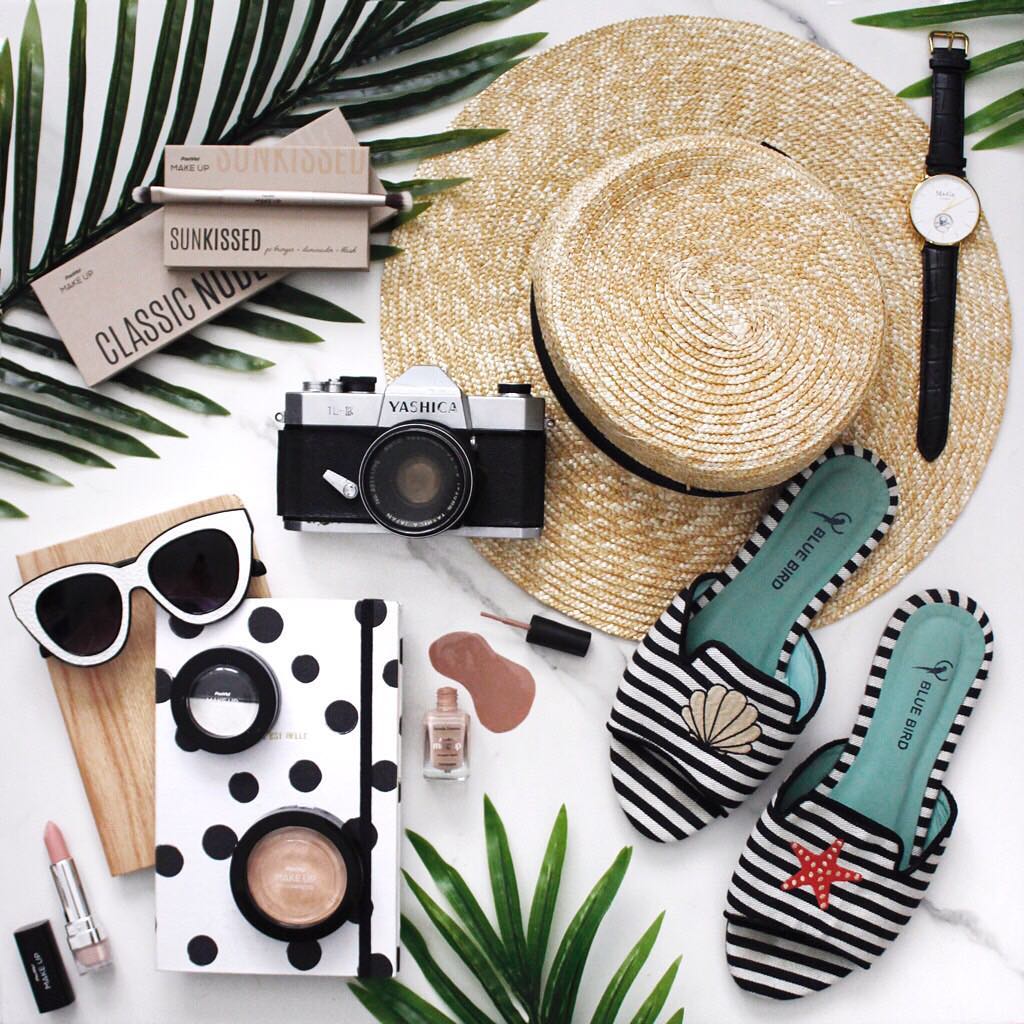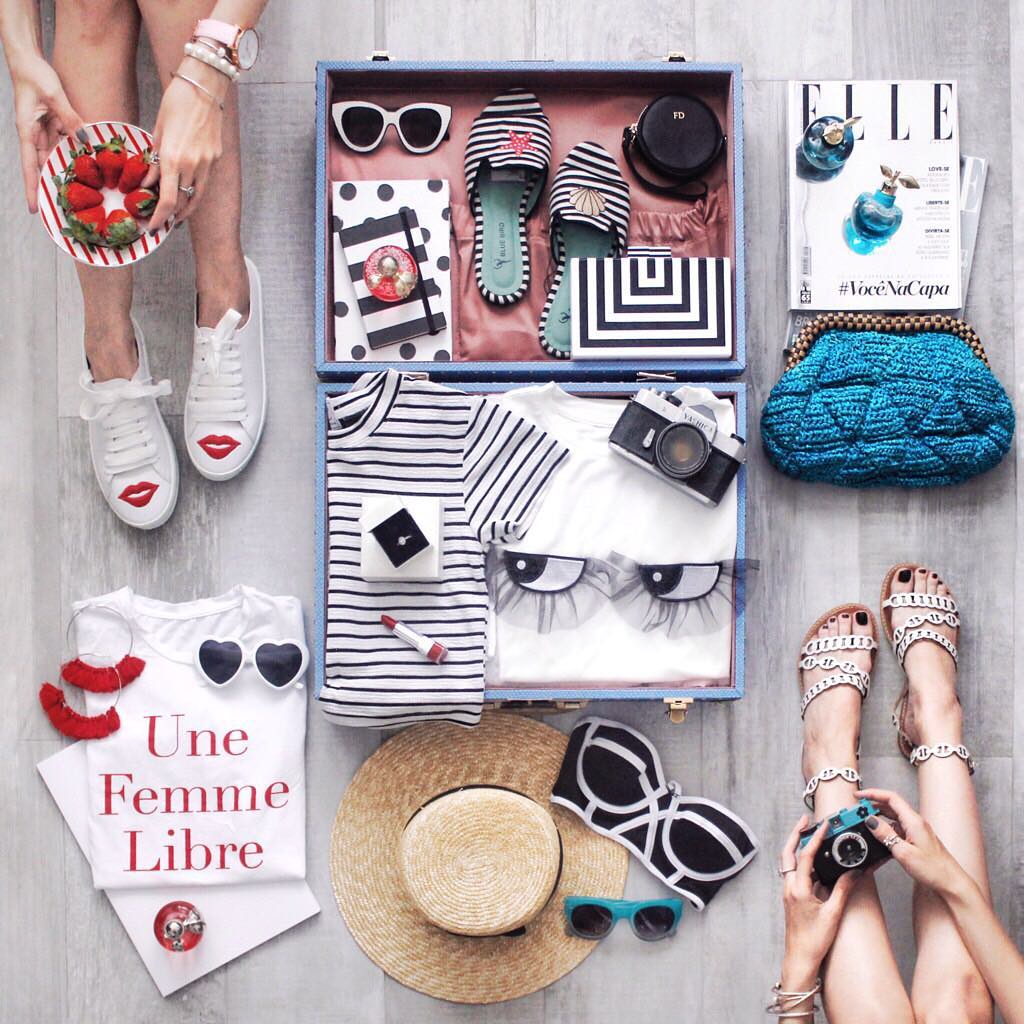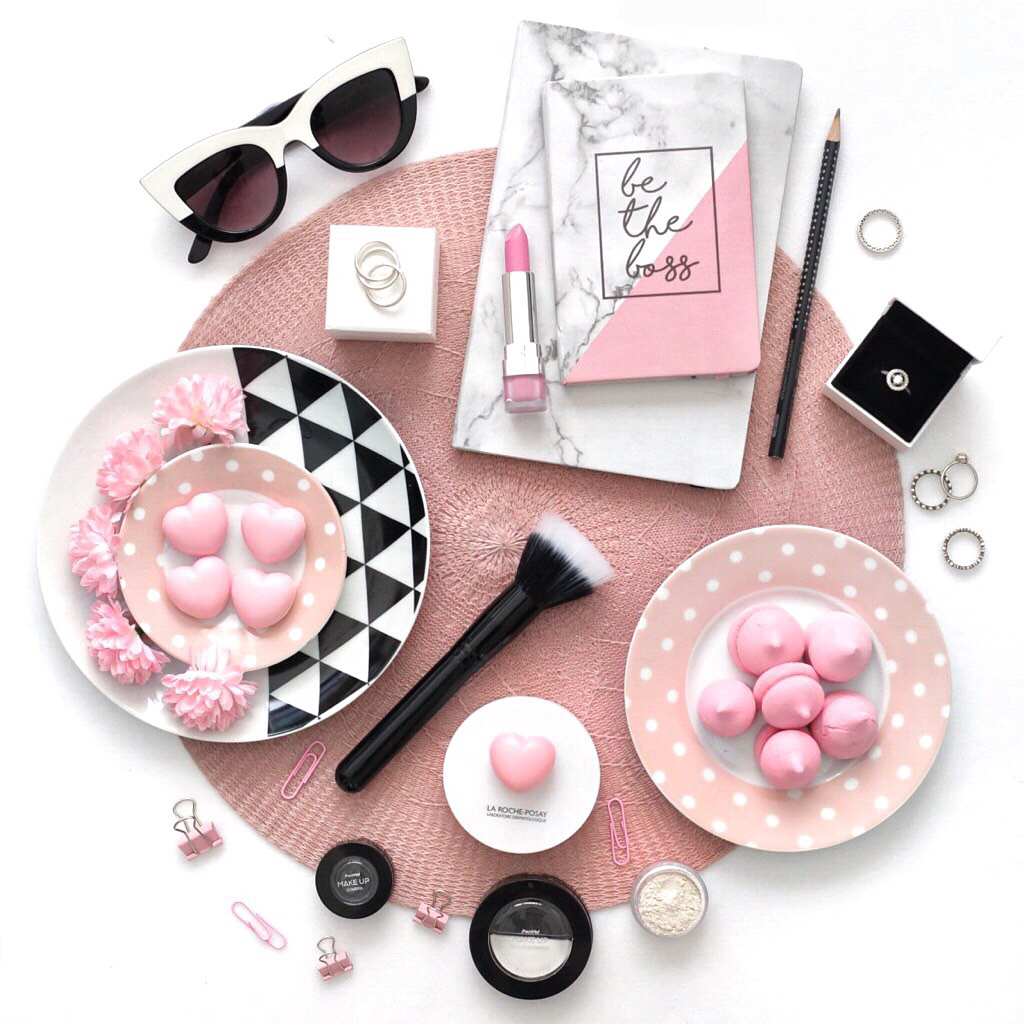

Flatlays, going straight to the point, are pictures taken from the top angle, usually from a flat surface such as a table, floor, etc. The purpose of this type of photo is to focus on objects on the surface, usually arranged in a very aesthetic way and causing a positive visual impact.
Okay, now you know! Now let’s elaborate, shall we?
One practical way to understand what a flatlay is to check the Cool Flatlays Instagram profile (@coolflatlay) by the amazing and wonderful Fashion Coolture. She is the master queen of the subject, in my opinion (and I’ve been in love with her blog posts and Lookbook.nu long before she even created this profile). And yes, my loves, she’s Brazilian like me! 🇧🇷💚💛
Aren’t they perfect? You should definitely follow her on Insta, guys!
The success of flatlay photos has everything to do with the popularization of Instagram, and the sharing of cool images of random and nice objects that we have at home. And also, in the case of business accounts, it has become a visually beautiful way to advertise products to customers.
An example of how Glow Recipe uses flat lay photos in their Instagram, up there!
And for personal projects like blogs, websites and Instagram, photos like that are also a great resource to showcase favorite products, personal objects we love, and to record our daily lifestyle. Bloggers and influencers love to create flatlays on the bathroom counter, on the bed, on the rug. Not to mention flatlays displaying shoes, nails and of course, a beautiful meal! hahhahaha
No doubt the flat lays that rock online are those neatly ordered, photographed with incredible lighting, and containing beautiful objects. So you might think – of course producing photos like this is just for professionals, right? But I can assure you that’s not true (here comes the crazy DIY lady haha). Let’s get straight to the tips!
Wow, I’m so objective right now! hehe
How to Make Flat lay Photos at Home
1. NATURAL LIGHT! No wonder my name is Luciana, sweethearts! Haha ha! I am a faithful supporter of the light, preferably natural and very abundant in photographs. Actually this is a consensus among all professional photographers (something I, as a matter of fact, am not), but I think it is important to divulge and insist about this with my amateur fellas.
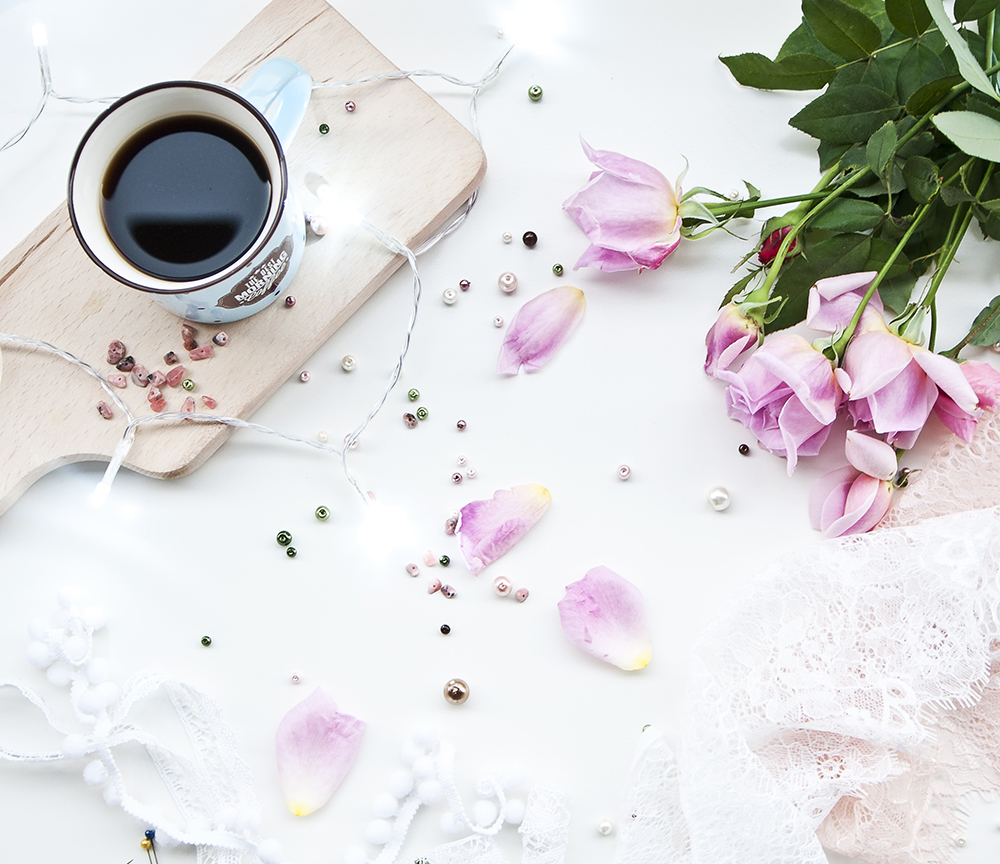

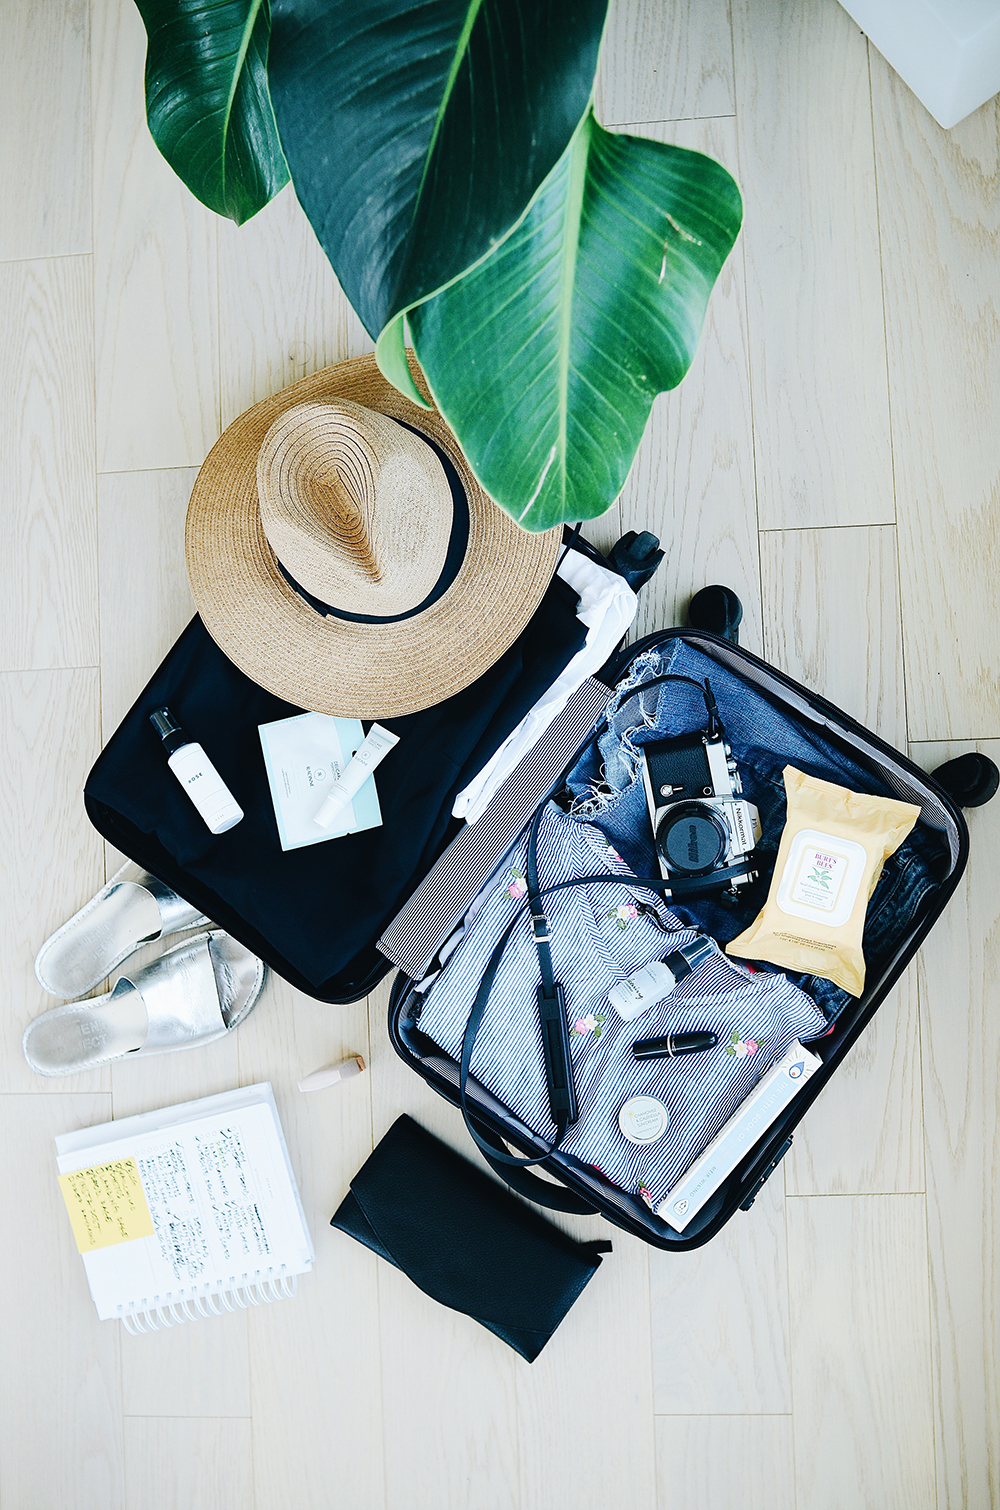

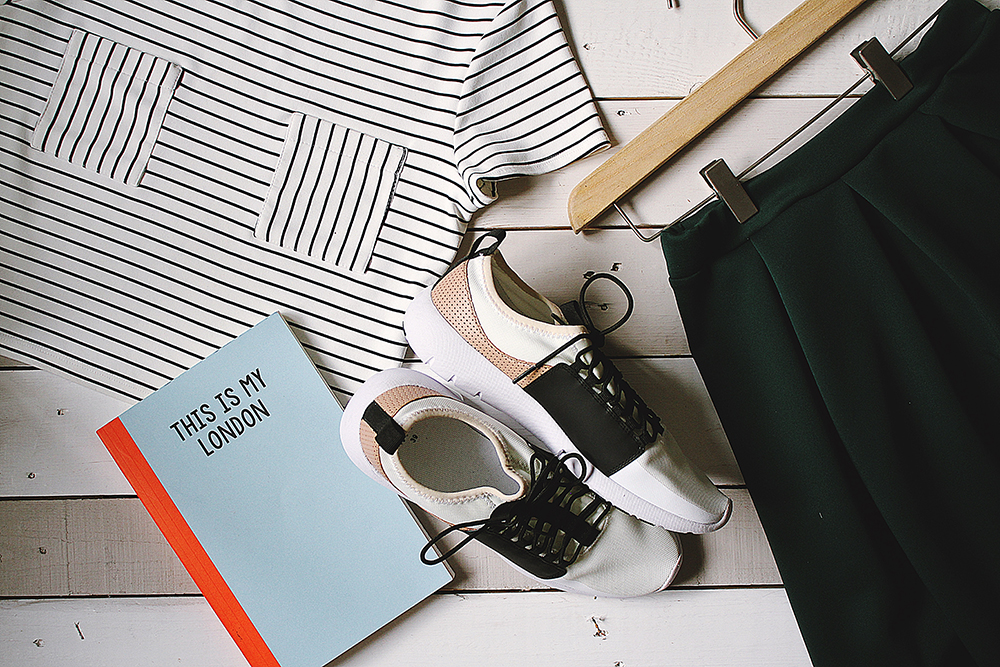



2. Decide what your background surface will be, do not ignore the importance of this !! Seriously, paying attention only to prominent objects can ruin your flatlay. It is essential to set whether the background will be all white (classic, I loooove) or whether it will be a nice wood pattern, a soft fabric, your duvet, the floor, that false marble made with contact paper…
Choose your background matching the main subject of your flatlay, take the camera and test whether the photo will be filled with that background, or if you need to adjust it in Photoshop, etc.
Quick Tip – Here is a post I made about the importance of working well with negative spaces, in order to popup the main object or objects. It has everything to do with this topic!


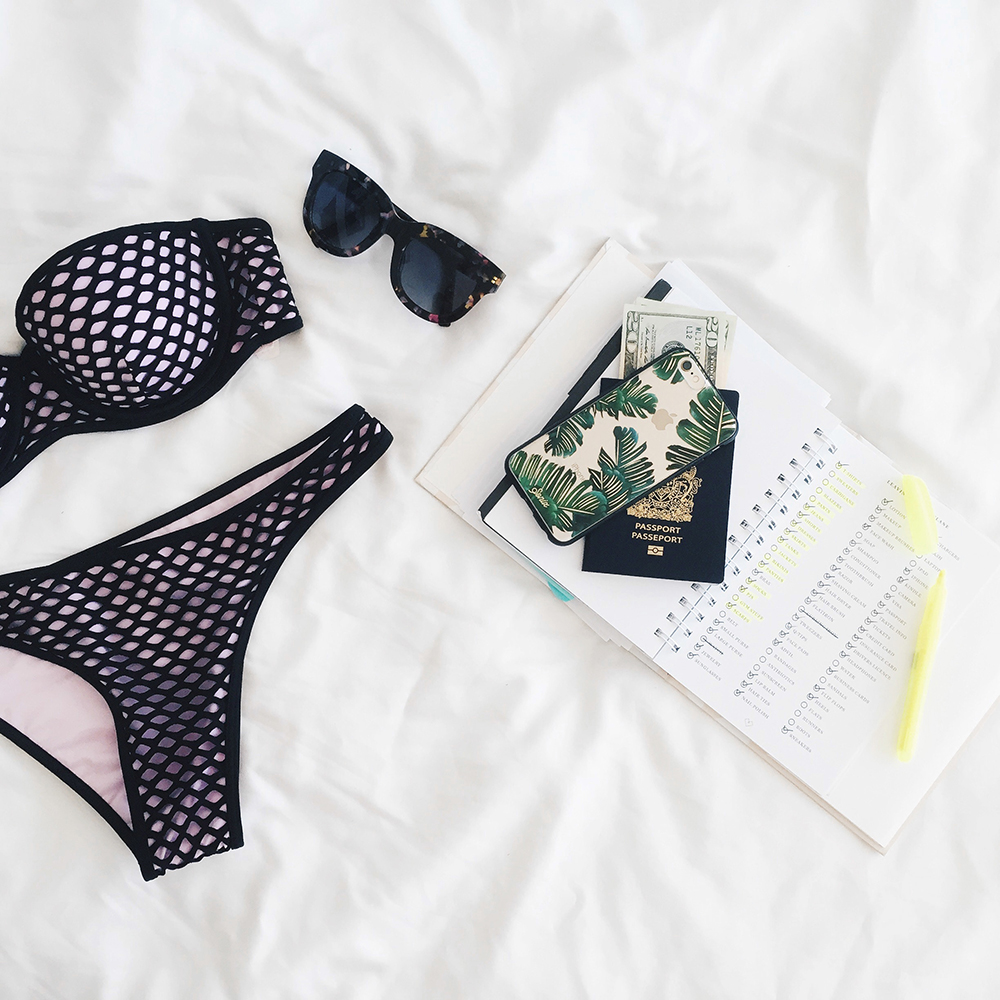

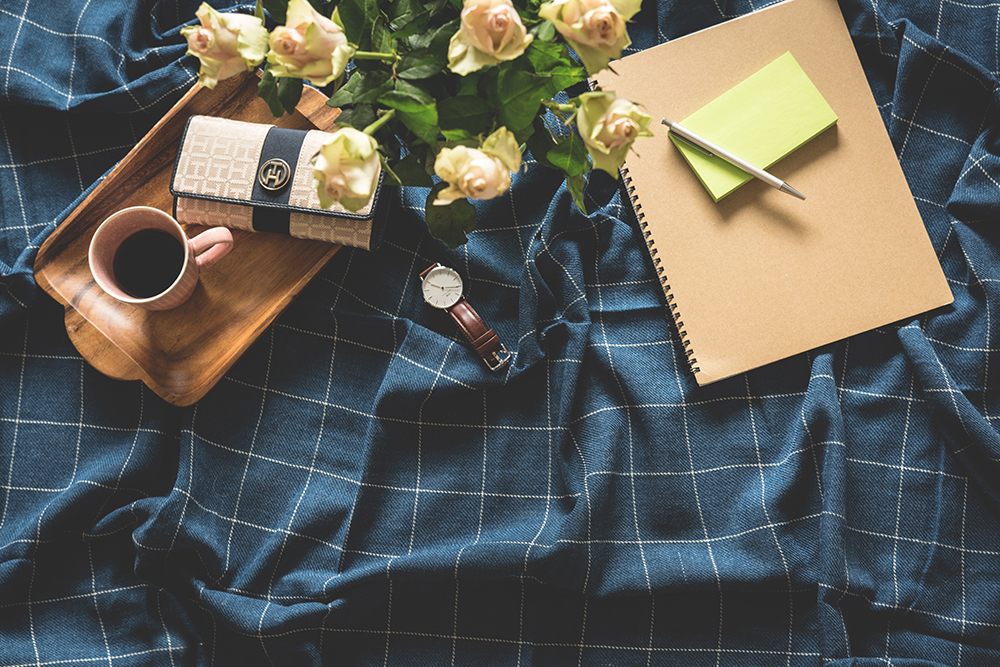

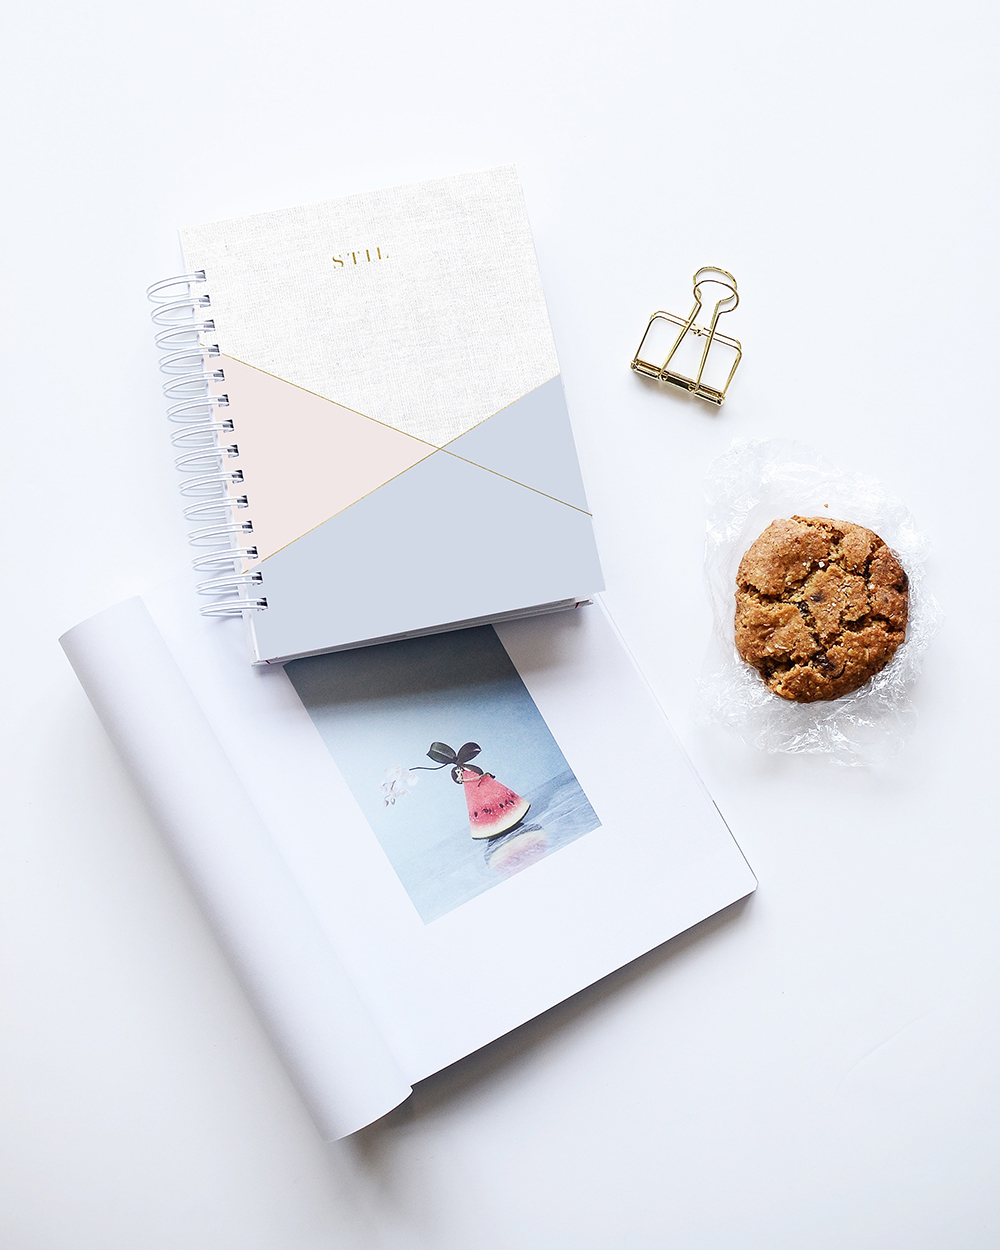

3. Followers love to see neatly organized objects. Of course you can not generalize, but often a well organized and beautiful arrangement of elements is the greatest charm of flatlay. So don’t feel weird if you waste more time organizing the little things than shooting the pic. But hey, the order I’m suggesting doesn’t necessarily mean everything will be aligned, okay? You can simulate a disorder as long as there is a visual logic, and the result can be aesthetically pleasing. You’ll get used to it (and good at it) with practice!


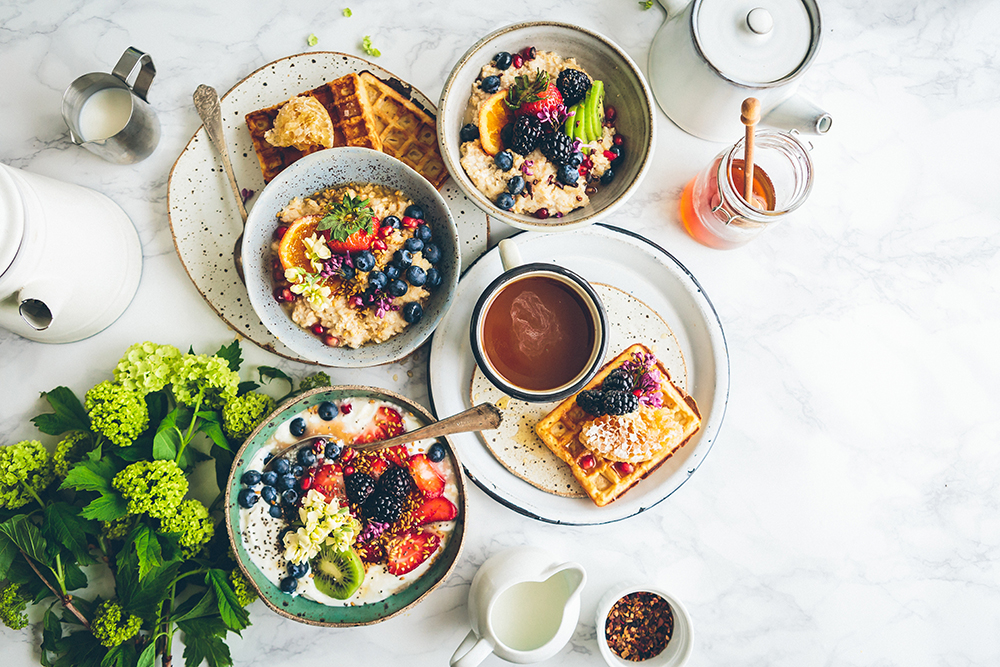

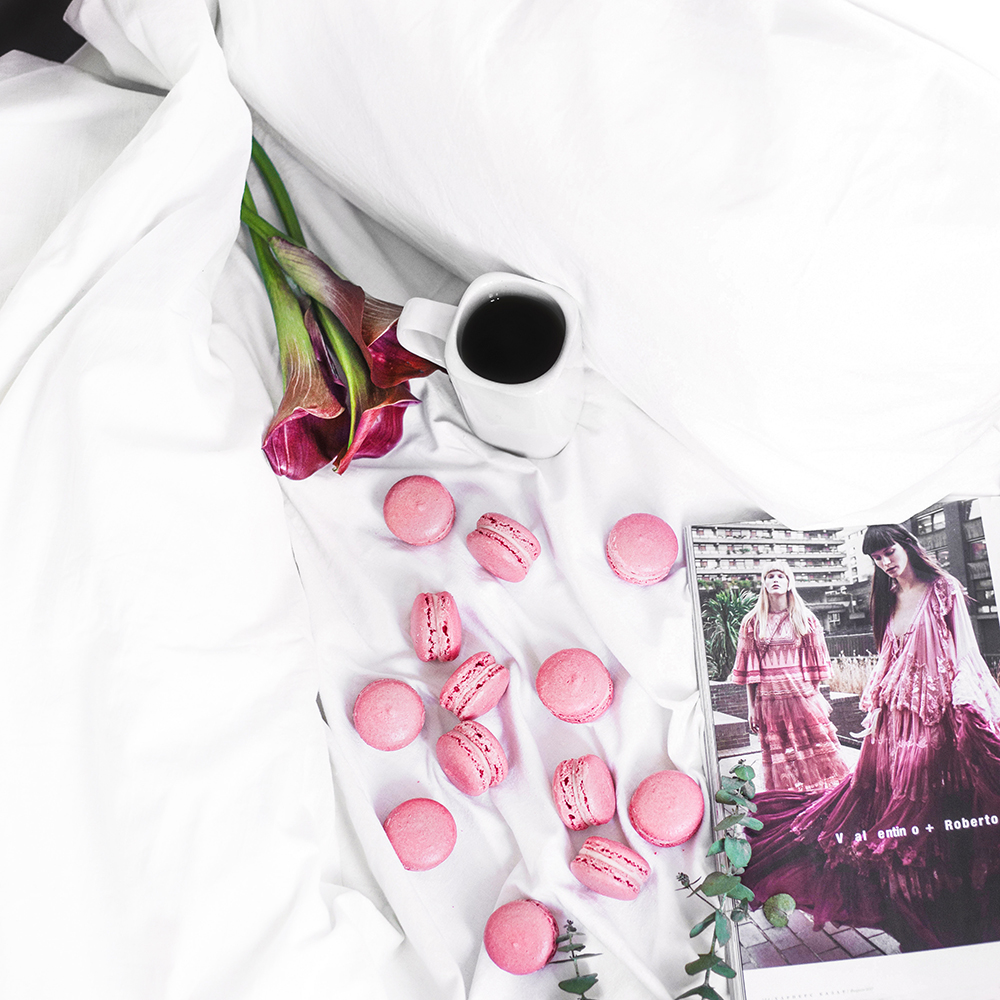

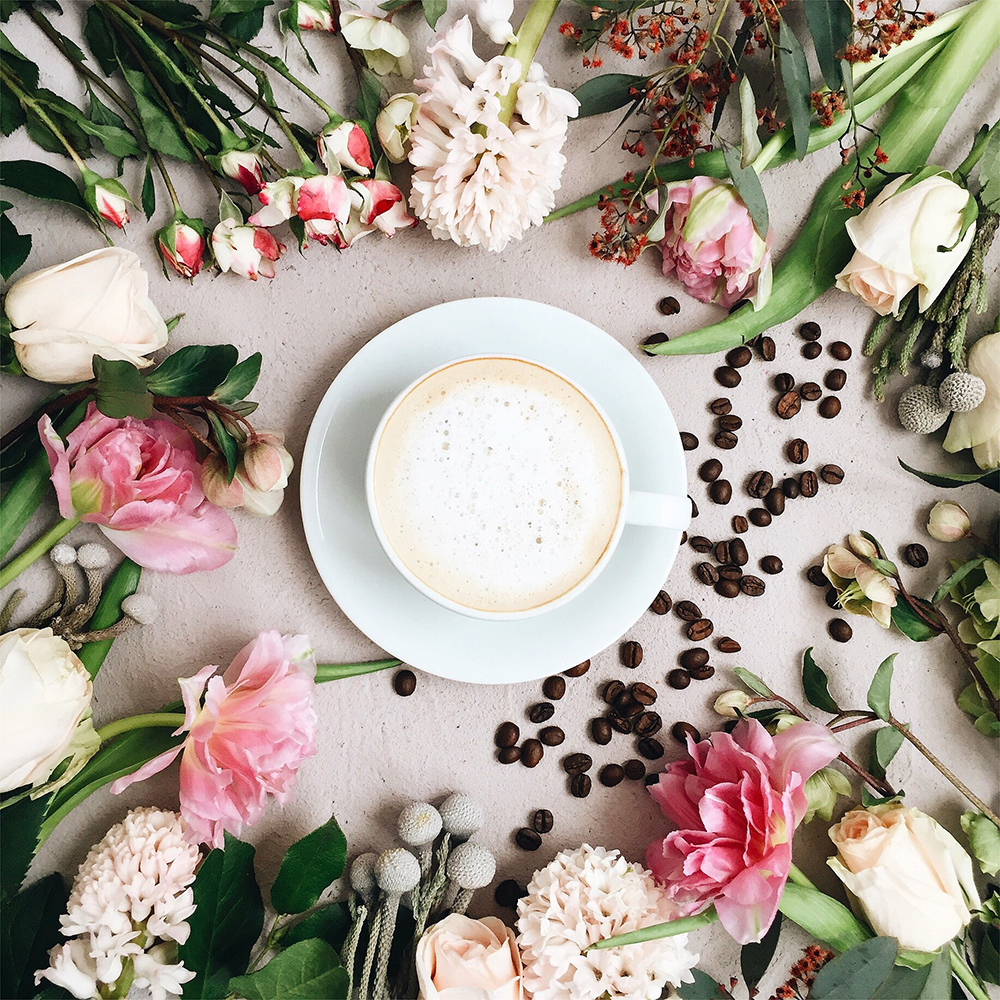

4. Last but not least, choose your favorite shot, and edit it like a pro! If you know how to use Photoshop, better. Because you can make several adjustments and even modify parts of the photo you want. If not, my recommendation will always be VSCO, my favorite photo editing app. I posted about it here on the blog, with useful editing tips!
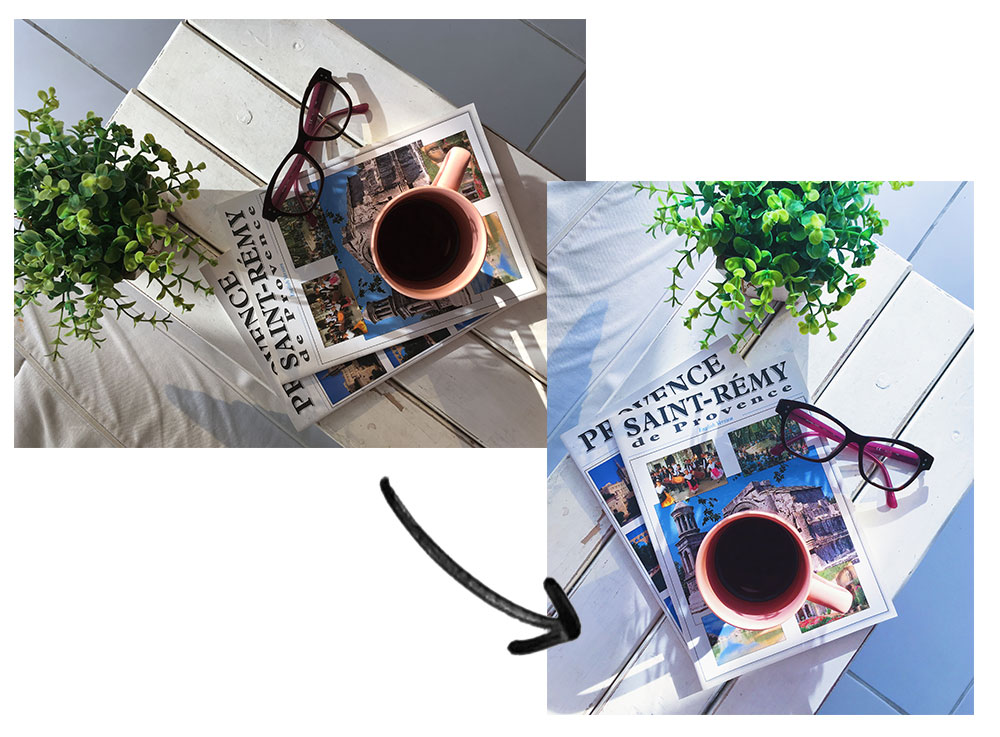

Cool, now you know what a flatlay is. And how to make it at home, easy peasy! 🙂
Beijos,
Lu
