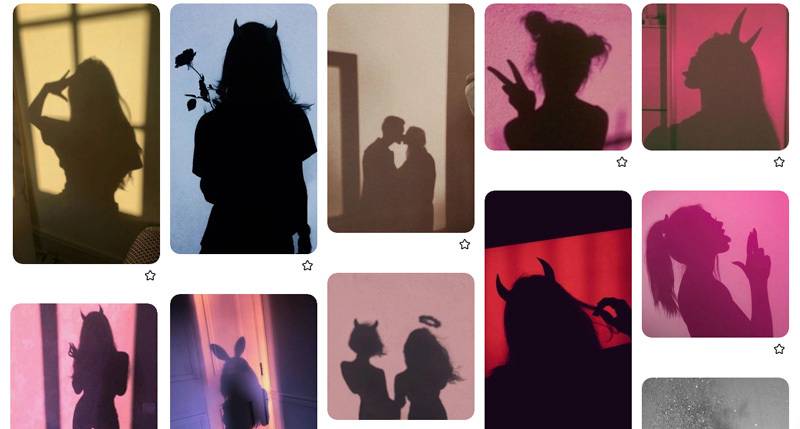
You’ve seen these pics before, haven’t you?
On Pinterest, they’re always at the top of searches like “pink aesthetic” and “baddie aesthetic”, which means they’re SUPER trendy and cute, and we love them 😍
So I decided to make a TikTok showing how easy it is to create edits that emulate that type of shadow images. It really is!
On the examples I screenshotted from Pinterest above I believe all the images are actual photos of people’s shadows. Which is the absolute coolest? Take a look at this post with awesome inspo and ideas to take photos of/with shadows!
Today thought, we’ll learn how to create this effect digitally, tHrOuGh tHe MaGiC oF pHoToShOp hahaha! 🪄✨
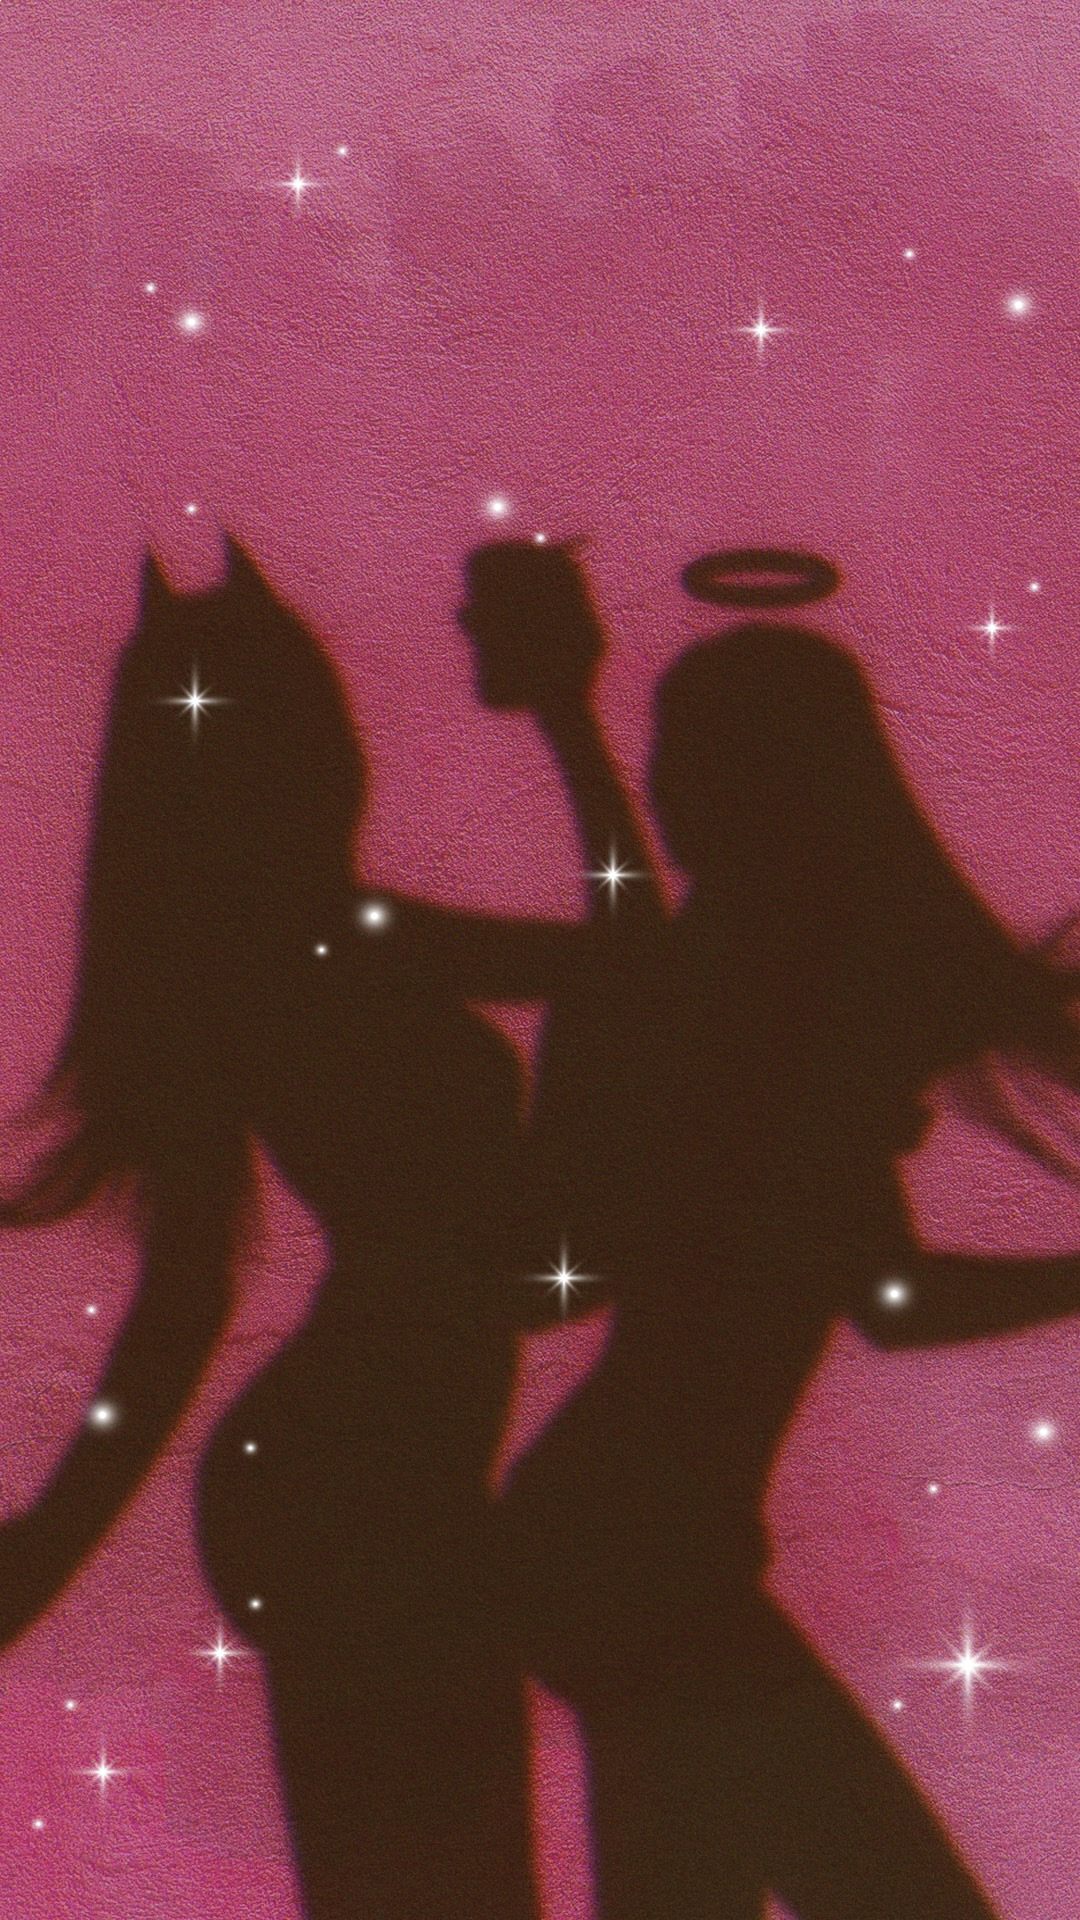
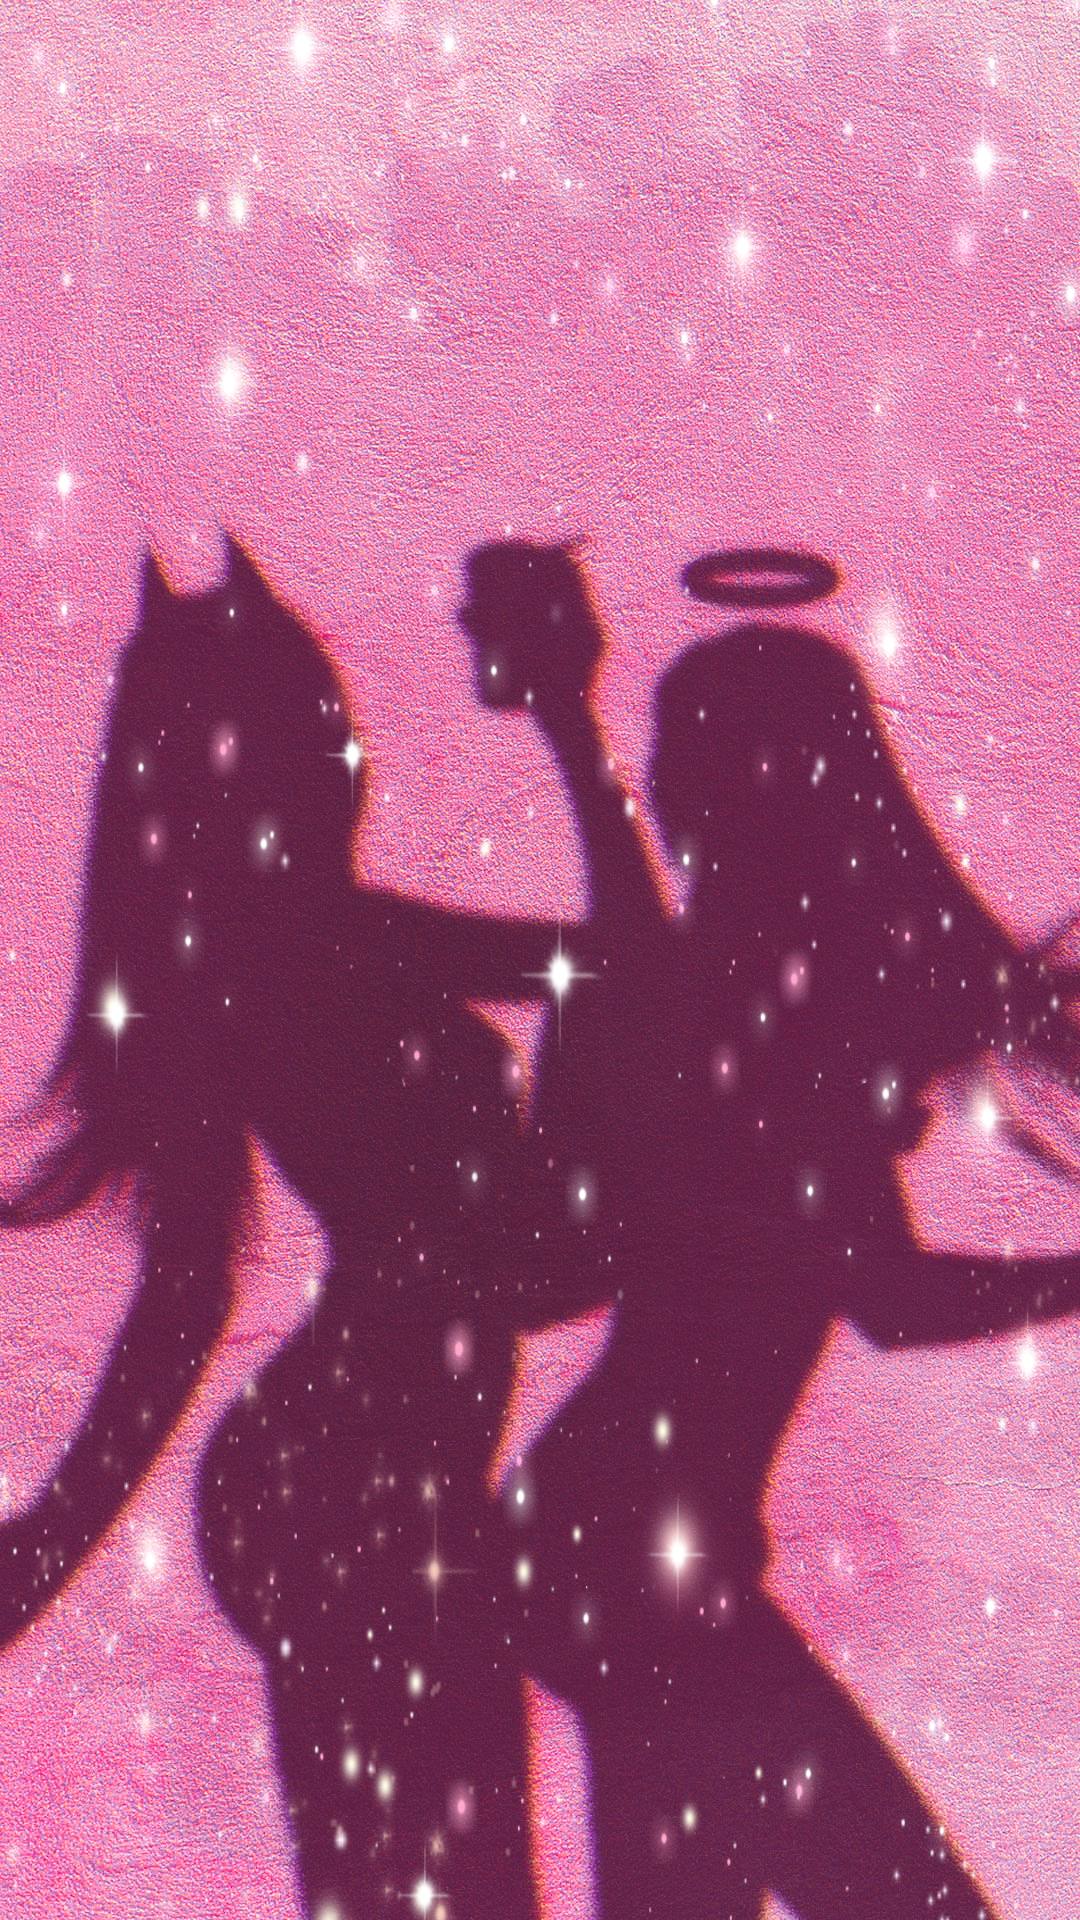
The thing is, if you want to final image to look really cute and, to make any sense at all tbh, the silhouette you’ll create a shadow of should have a clear, identifiable shape. Wether it’s a person’s body, or any other object or thing.

For example: if it’s a face, it should be on profile position, preferably with some special hair style, or using the hands or some object to add to the composition. Like a lollipop! Otherwise nobody will be able to understand what it is, or it just won’t be interesting at all :/
It took me a while to find a photo of two girls that you could immediately tell are dancing, or partying and holding drinks in their hands – which is what I wanted for this edit. But after I did, I think it looked super cute 🙂
I used Photoshop here, but you can do it with Picsart too.
Ingredients:
- Editing software like Photoshop or Picsart
- Image of a wall – I got mine from Unsplash and changed the color to pink.
- Photo of the object you want to turn into shadow
Steps:
- Open the wall image and crop or adjust s needed
- Place the main photo on the file. Cutout the body, face or object. You can click the Magic Wand tool and then Select Object, and refine the selection with the Polygonal Lasso tool
- Delete the background (Select / Inverse), and make final retouches of the main object
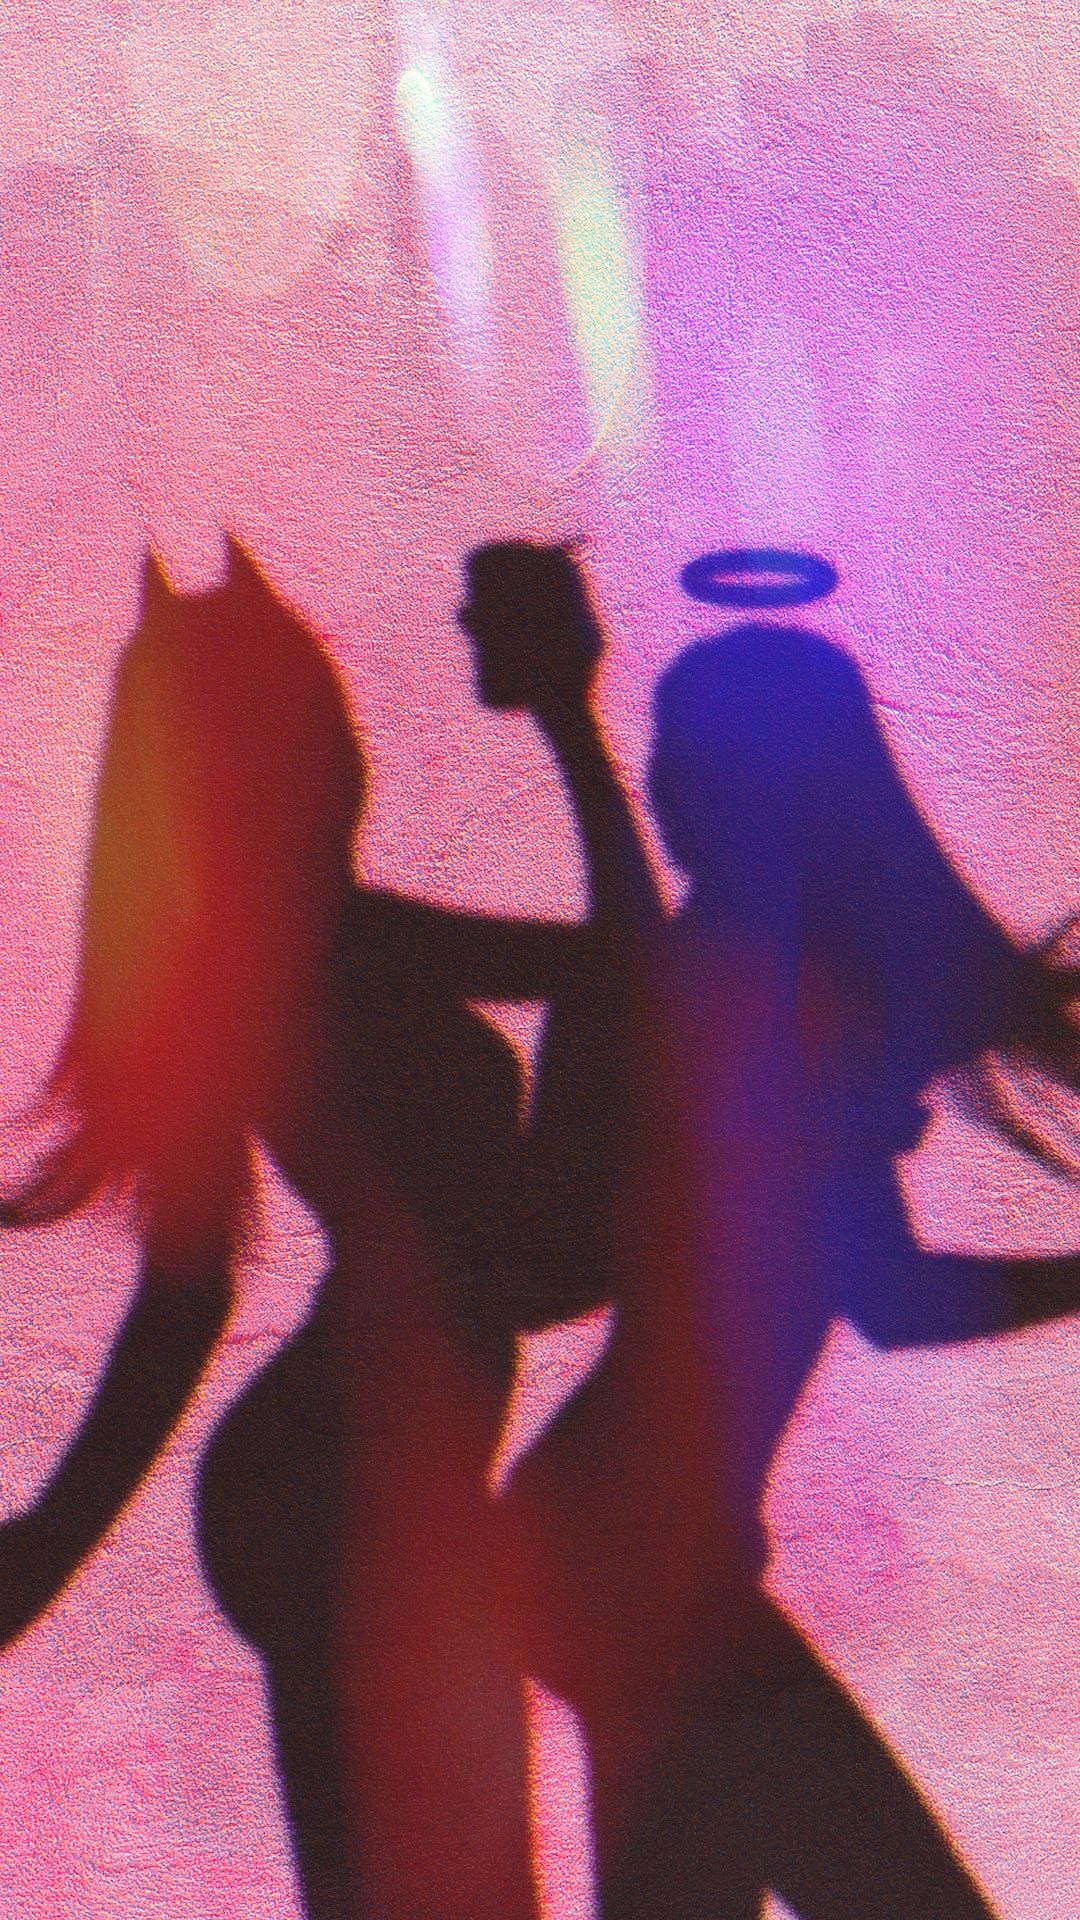
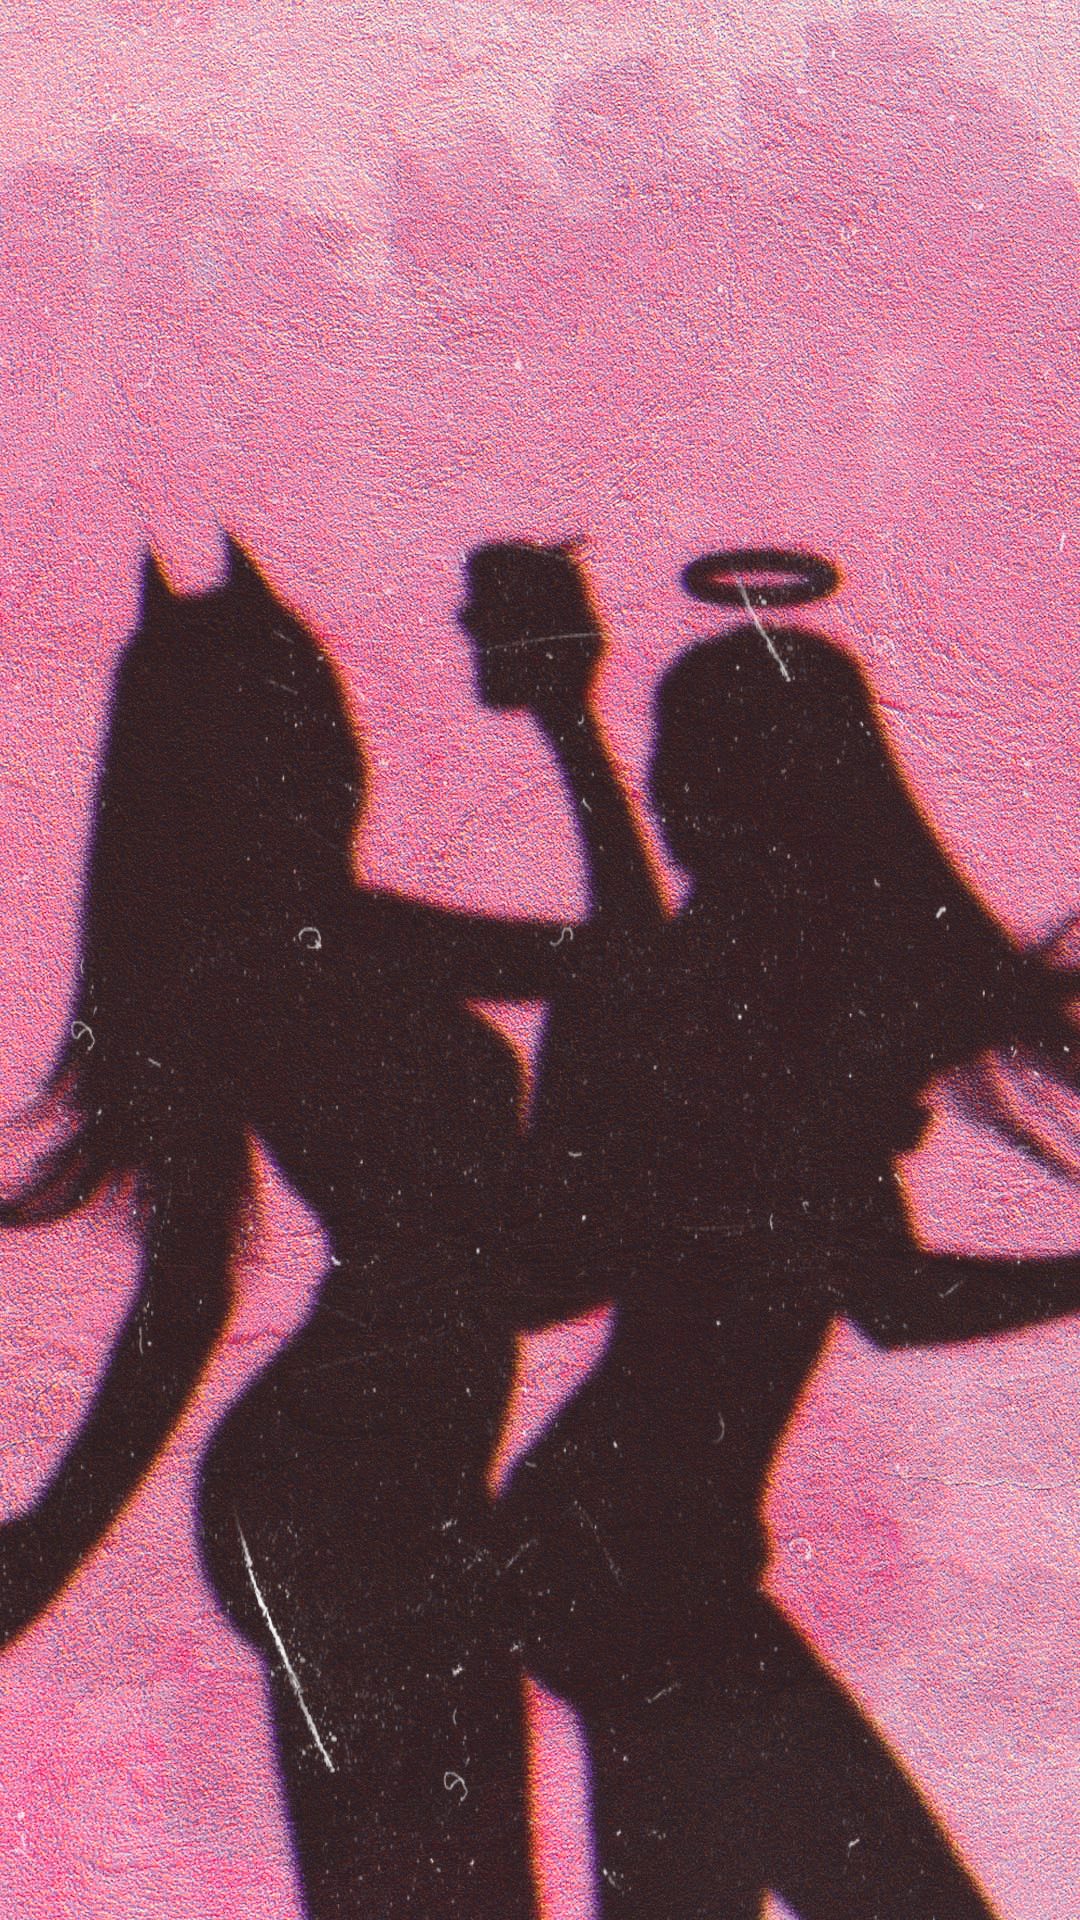
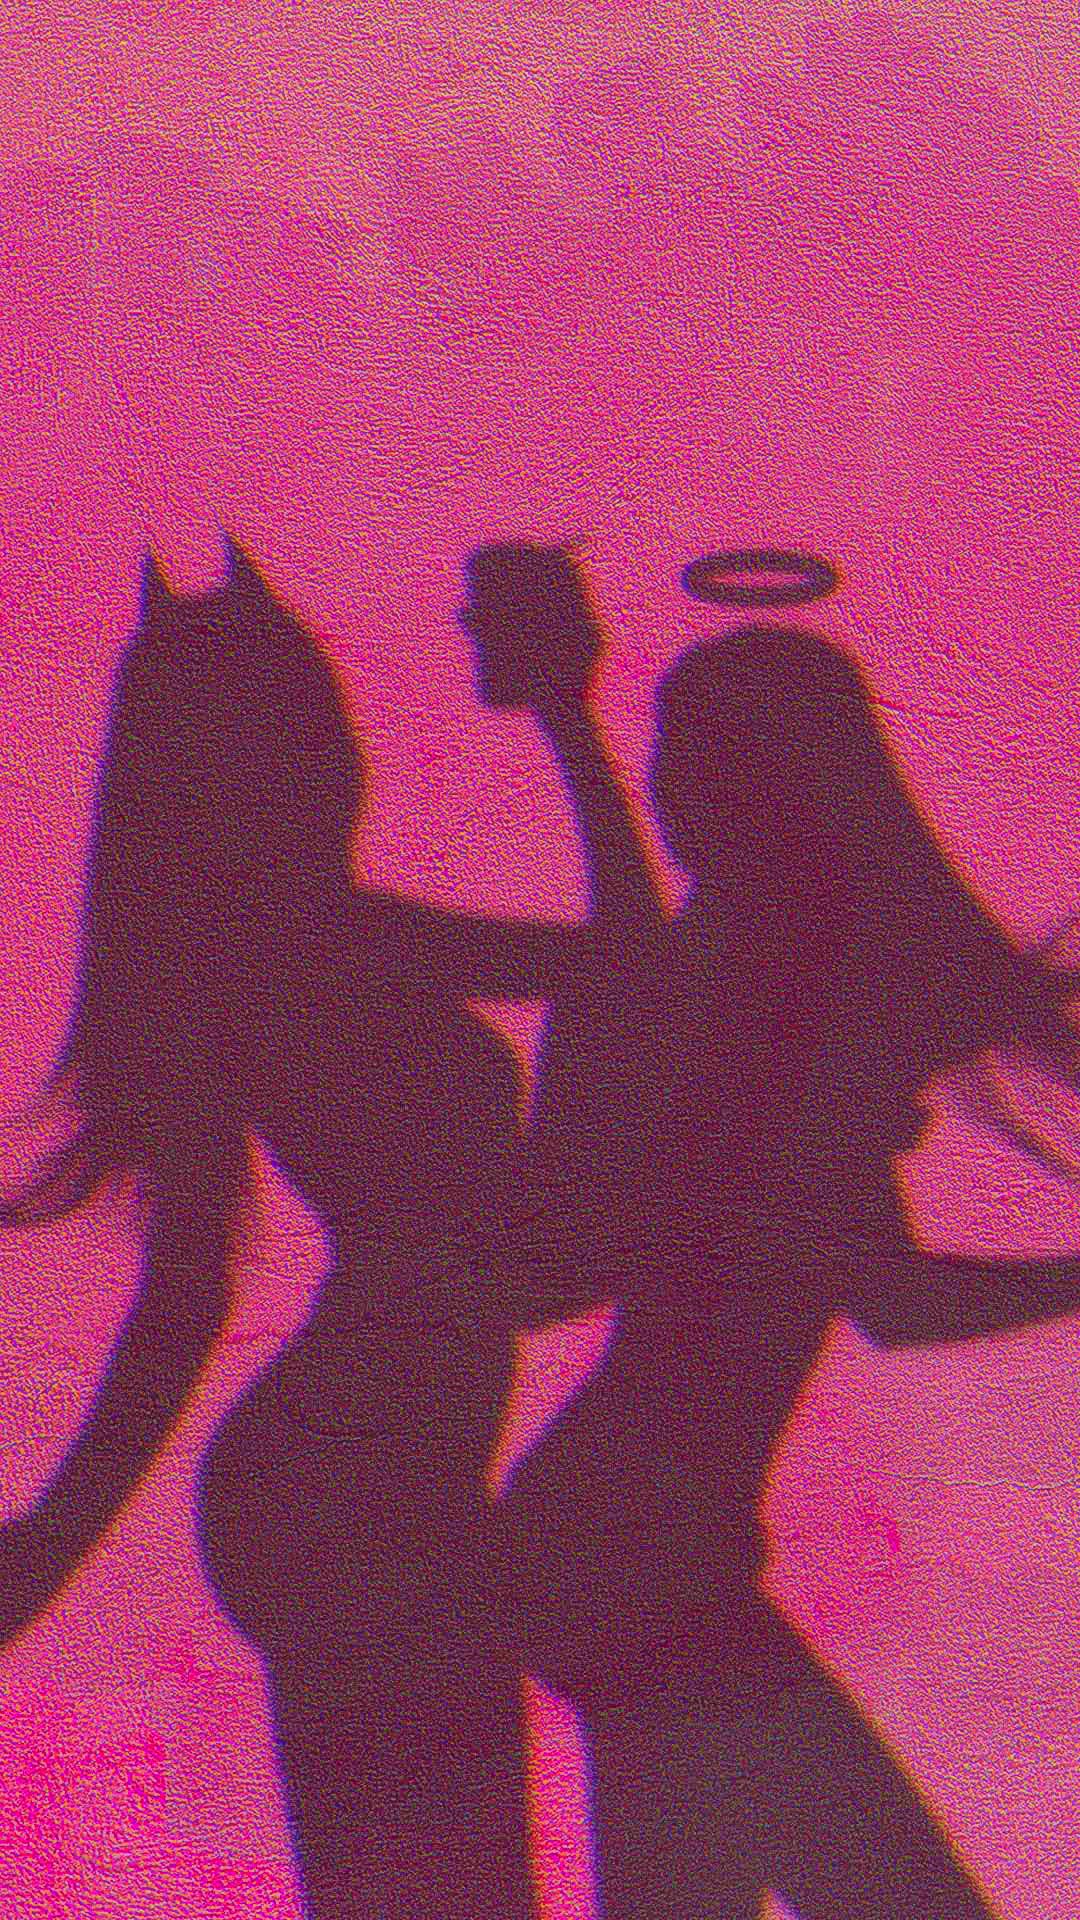
- Go to Image / Adjustments / Hue Saturation, and set Lightness to -100
- Go to Filter / Blur / Gaussian Blur. I use 4 or 5, but this will depend on the size of your image. So adjust to your preference
- Change the layer Opacity to 60%
- After those steps, you’ll already have a pretty neat edit. If you want to go a little further, merge the background and shadow (I suggest duplicating the layers before merging) and do some editing on the merged image. For example: Filter / Noise / Add Noise.
- You can do more edits, or export the image to your phone and try some aesthetic filters on editing apps, like PicsArt.
It’s one of the easiest edits ever in my opinion, and the result is so cute and aesthetic. So give it a try! ☺💖
And hey, if you like aesthetic edits, check out this tutorial on cosmic fantasy art too 🙂
Beijos
Lu

