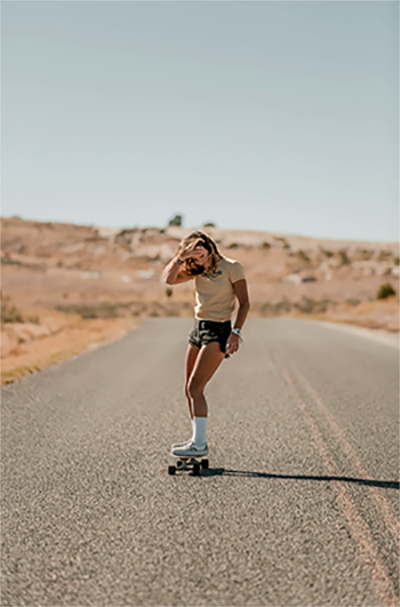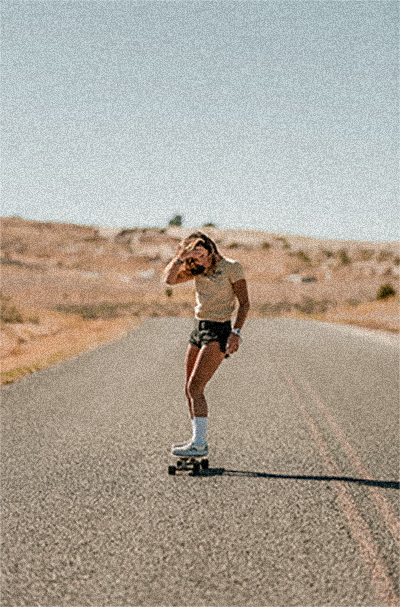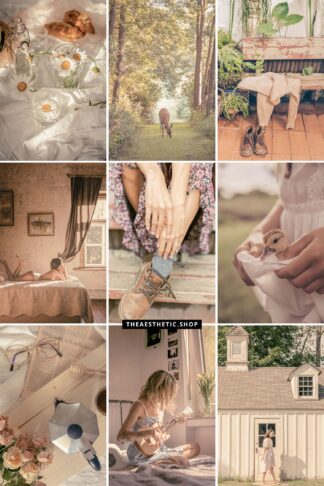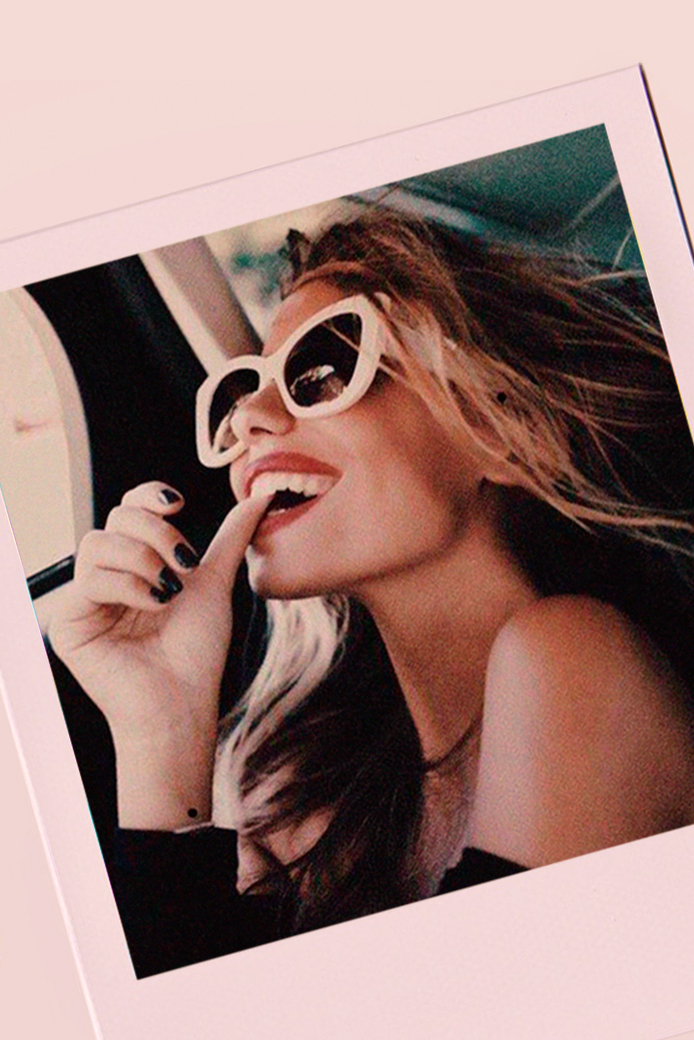

I’ve noticed the grain effect for photo editting is a huge trend, huh? Us graphic designers have been used to working with that technique since forever to give the image a retro look, or even to “save” a bad resolution / pixelated pic. And after all, that’s why many of us use the effect nowadays on the photos we post too, right? 🤩💫
A bad resolution picture will look better with some grain effect to cover the pixels. You can’t really improve the image quality, but rather give it a cool retro effect 😉
After Kim Kardashian got in the mood to put a “90s” analog photo face on her photos, the idea fell in love with many people. She has even passed the stage, but we mortals remain firm hehe!
⟡ New on the shop: ⟡
Soon I will post here about other ways to leave the photos with 90s style, today I will focus only on the granules, okay?
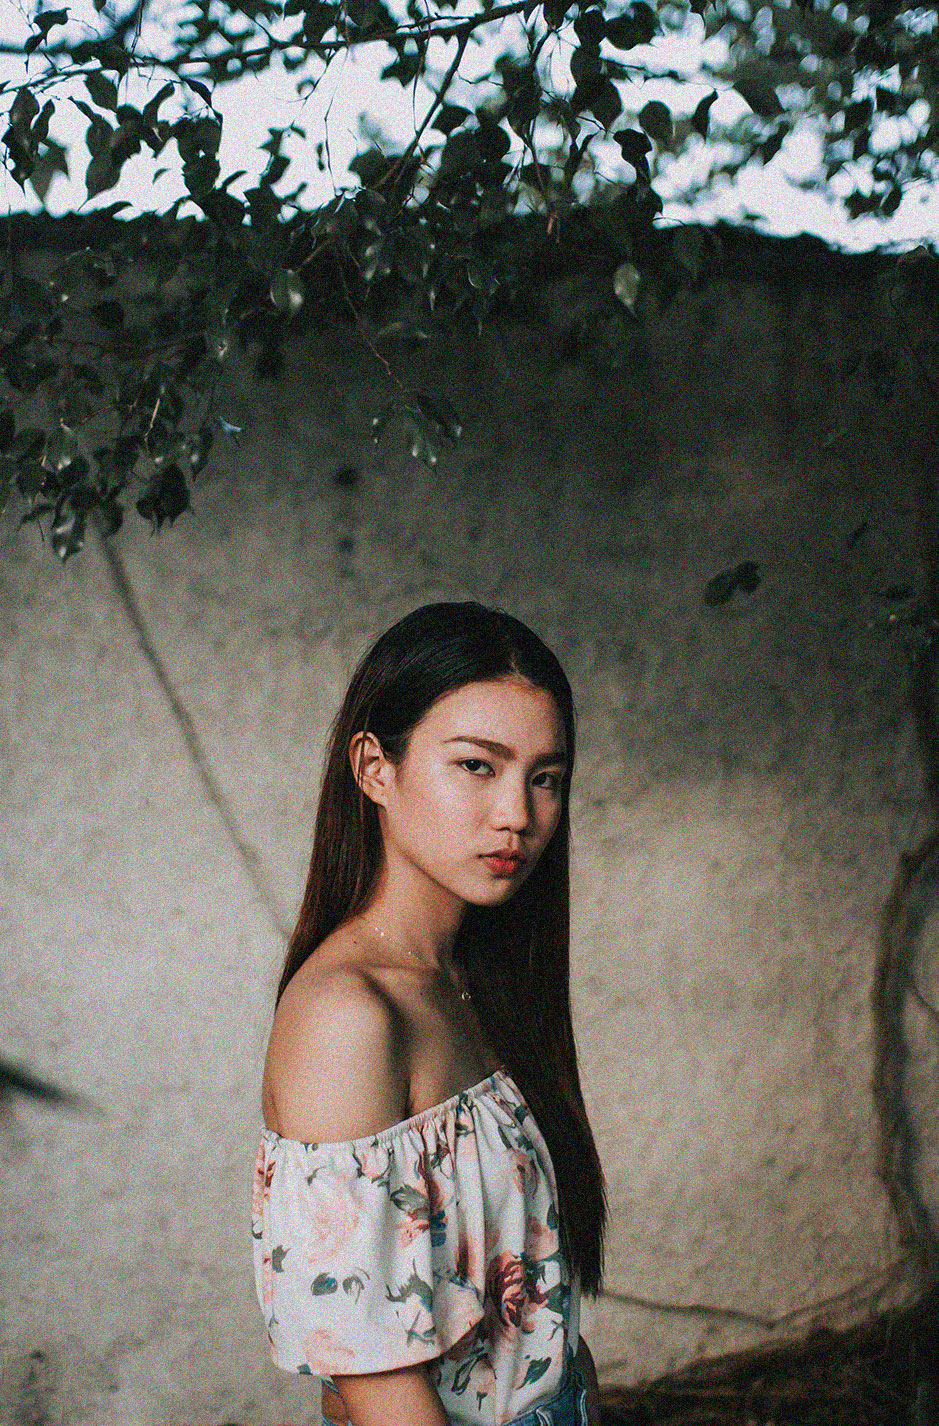

The term we use in design is “add noise” to the image, probably because that’s what the Photoshop filter that has this attribute calls it hehe!
You can easily do this in both apps and PS. Instagram had this option in the editing tools, and I always did! Then they took it off before it became fashionable.
You can use noise to give the photo more charm, in this “retro” proposal, but I recommend more than anything to use the technique to save photos of very bad resolution or pixelated. ‘Take the test to see how much it improves with noise.
So here is the step by step!
If you dont love videos, I wrote it all down below…
🌀 Grain effect | using an app:
- Download and open VSCO
- Open your photo and click on the middle icon to edit it
- In the editing tools, find the option “Grain”
- Measure the amount you think is necessary. Just enough, not too much!
🌀 Grain effect | On Photoshop:
- Open the photo
- Click on Filters / Noise / Add noise
- Adjust the amount you want. Photoshop is much more accurate than apps, so you can control it better
- Save the photo as jpeg
Super easy, right?
If you want to explore Photoshop a little more, I posted some cool tips on how to change the color of an element and how to do basic photo editing. To find out more about VSCO, my favorite editing app, I wrote a whole post about it here!
Update: I made a post here on the blog teaching how to make the 90s effect in the photos, just click here to read =)
Beijos,
Lu

