Hey chicas! 🌻🧡
As I mentioned in the introductory post, a series of posts on Instagram feed organization starts today here on the blog, with tips on how to have the pretty, authentic, organized instagram feed of your dreams. I’m super excited about this series, and hope it will be helpful!
So let’s jump to the first step of the tutorial: brightness! Ready? 💫
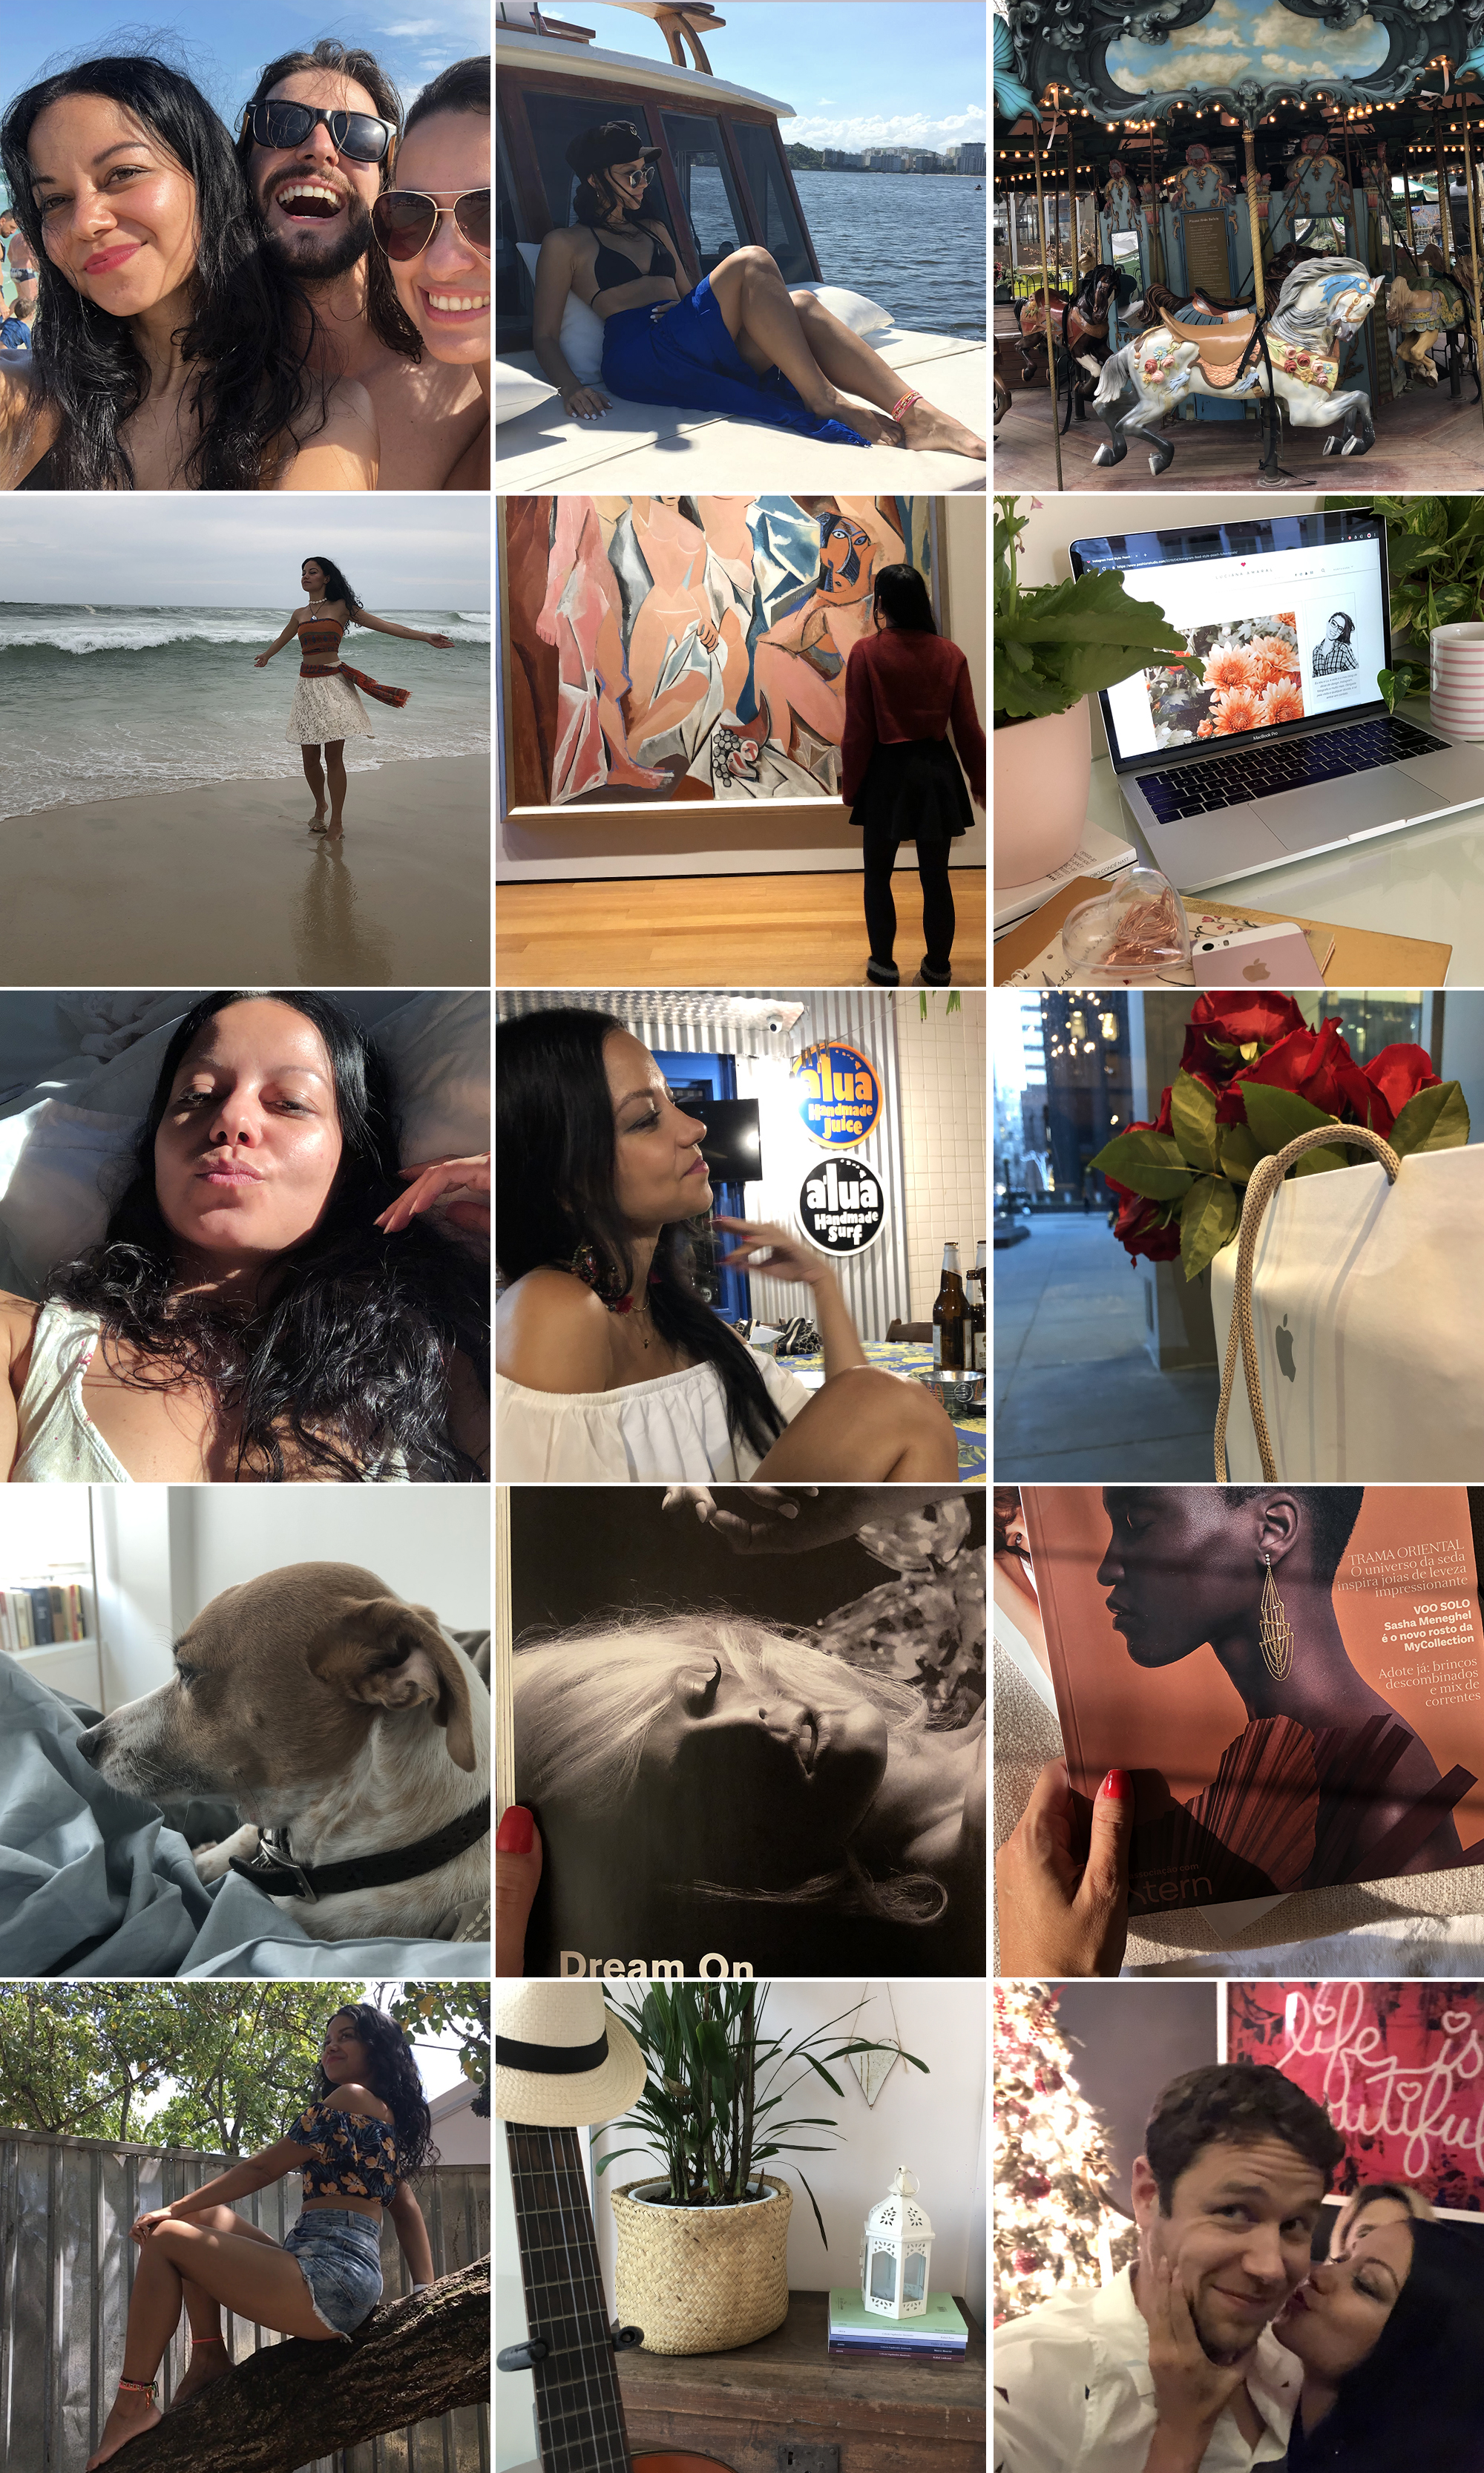
To illustrate every step of this special, I selected 15 photos from my camera roll and created a feed with them. The photos are down below, and do not have any kind of filter or editing on them yet:
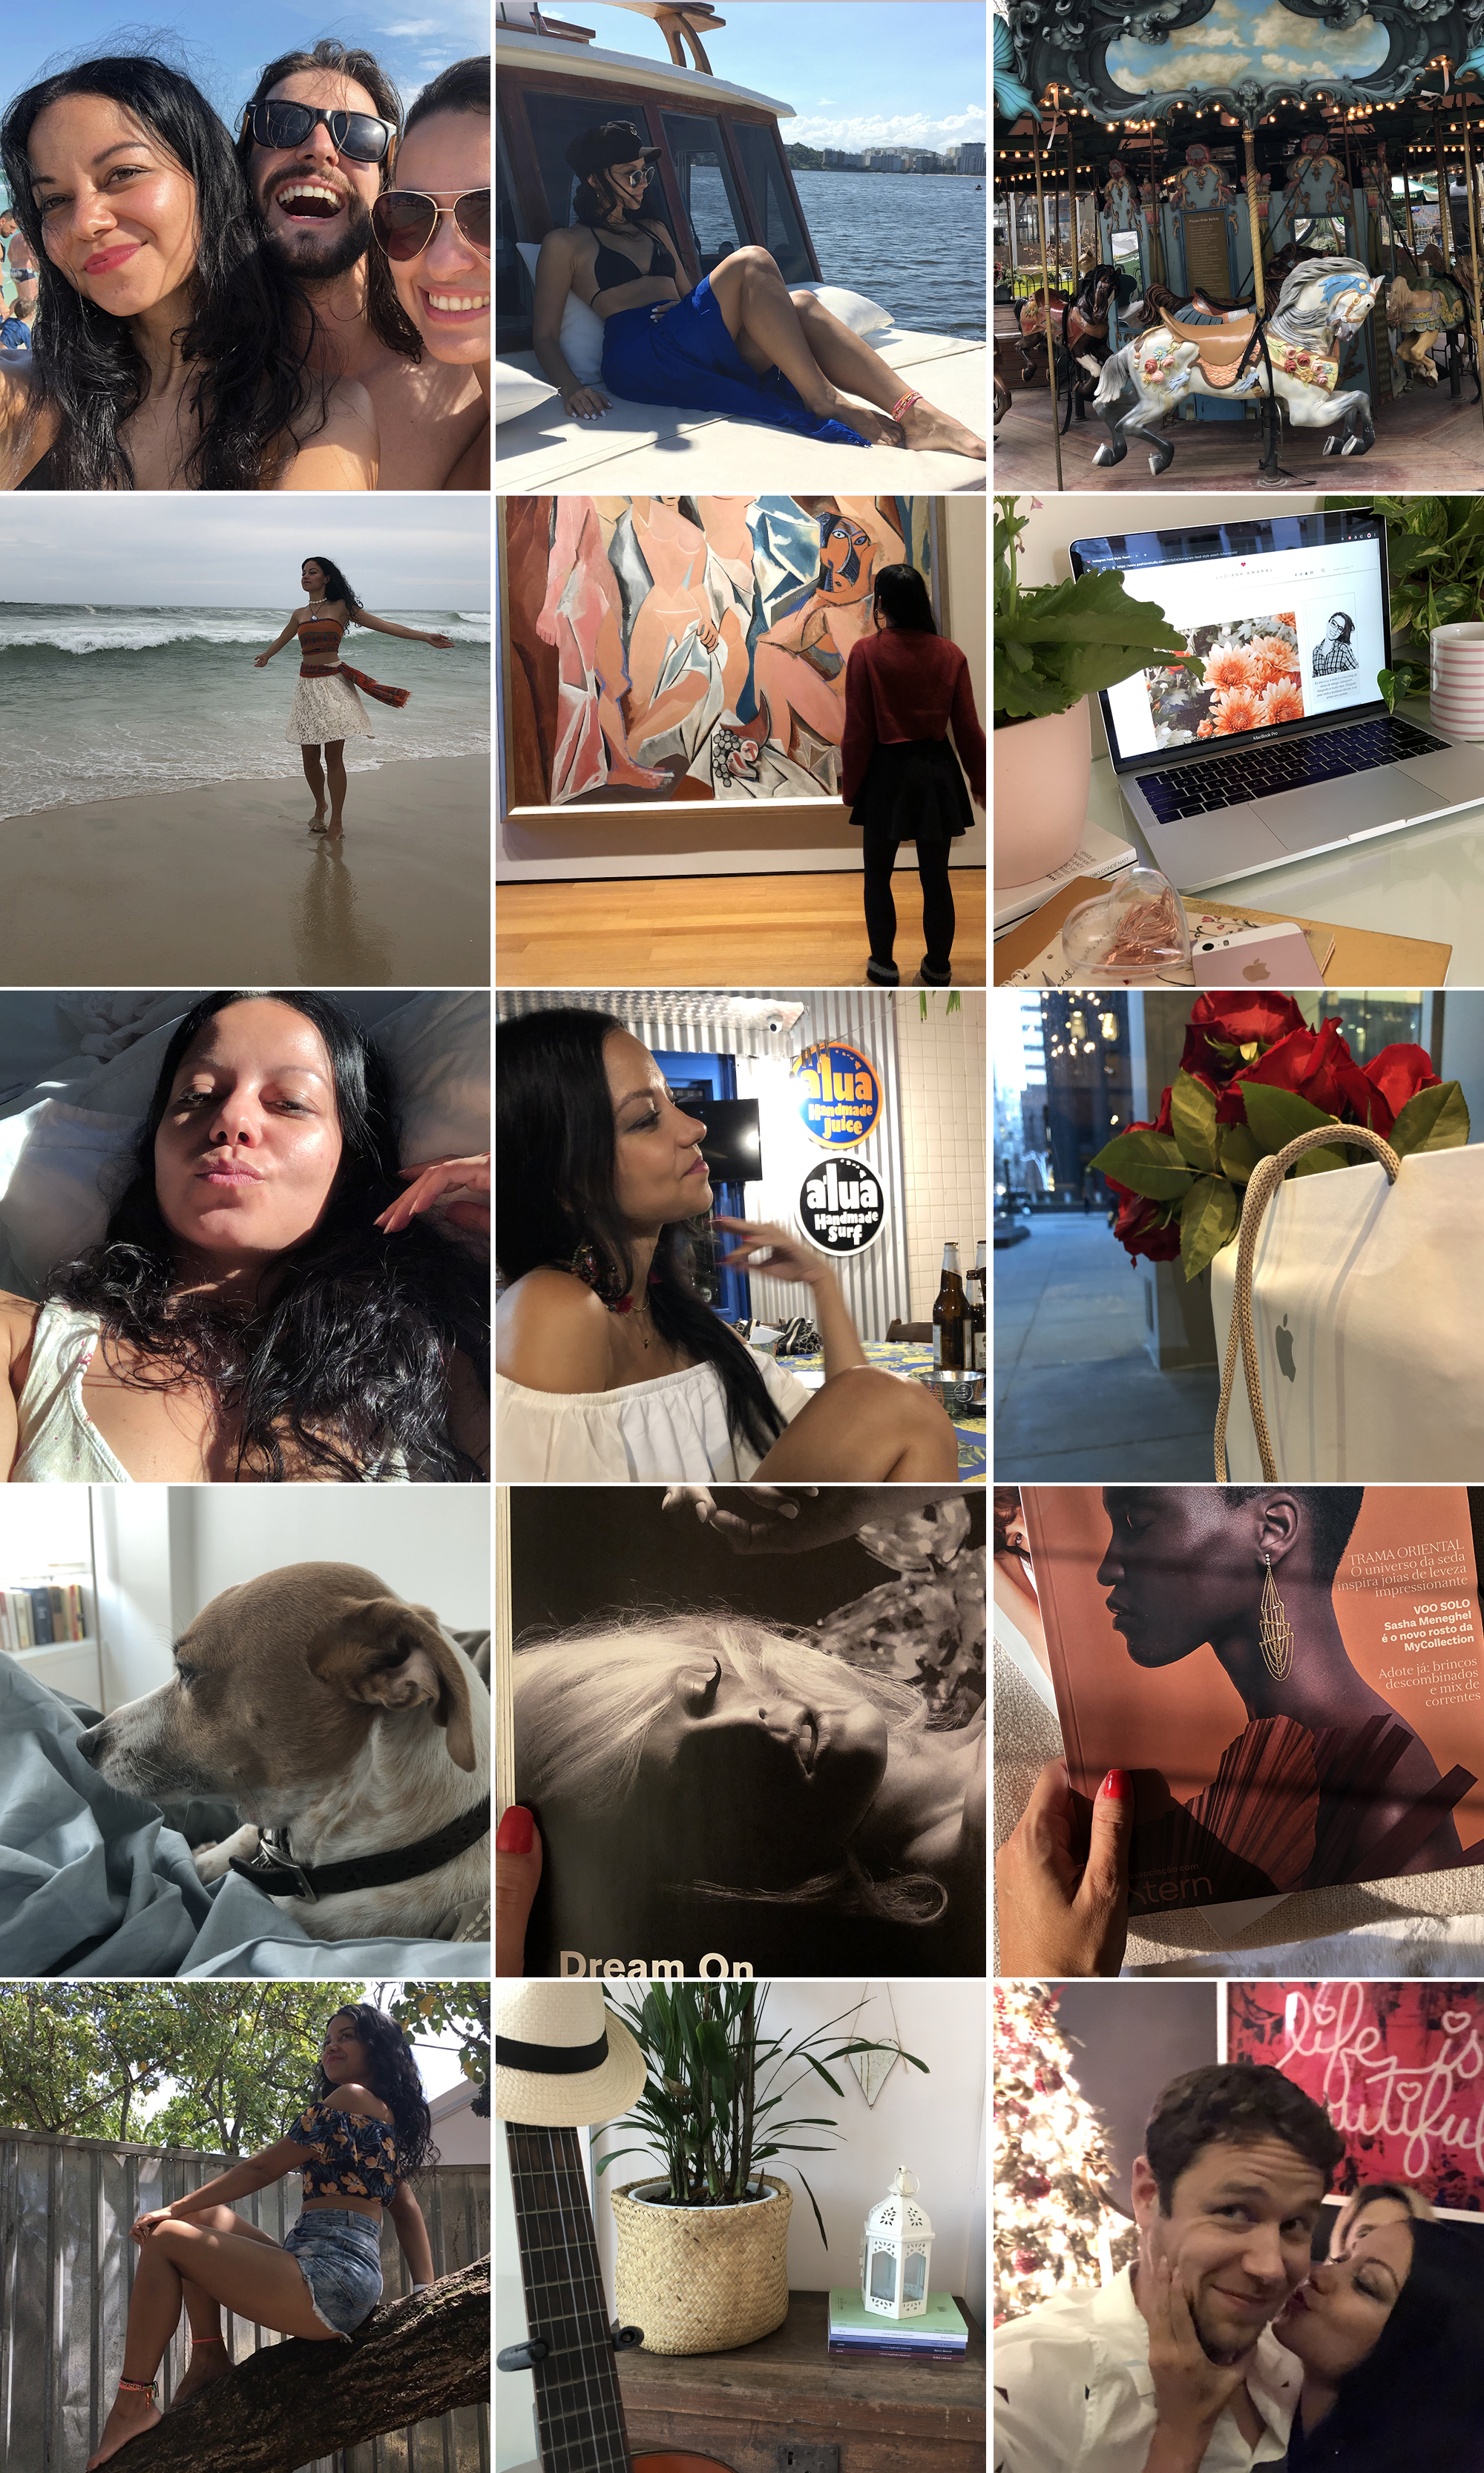

As you can see, I chose photos that I think are cool, with several different weights, some taken outdoors, some at night, a few objects, selfies, etc! Trying to make it as realistic as possible.
So guys, this first step is simple. In a nutshell, always brighten up all your photos. There are a few easy ways you can get that done. For example:
1. If you can, take your photos using natural light
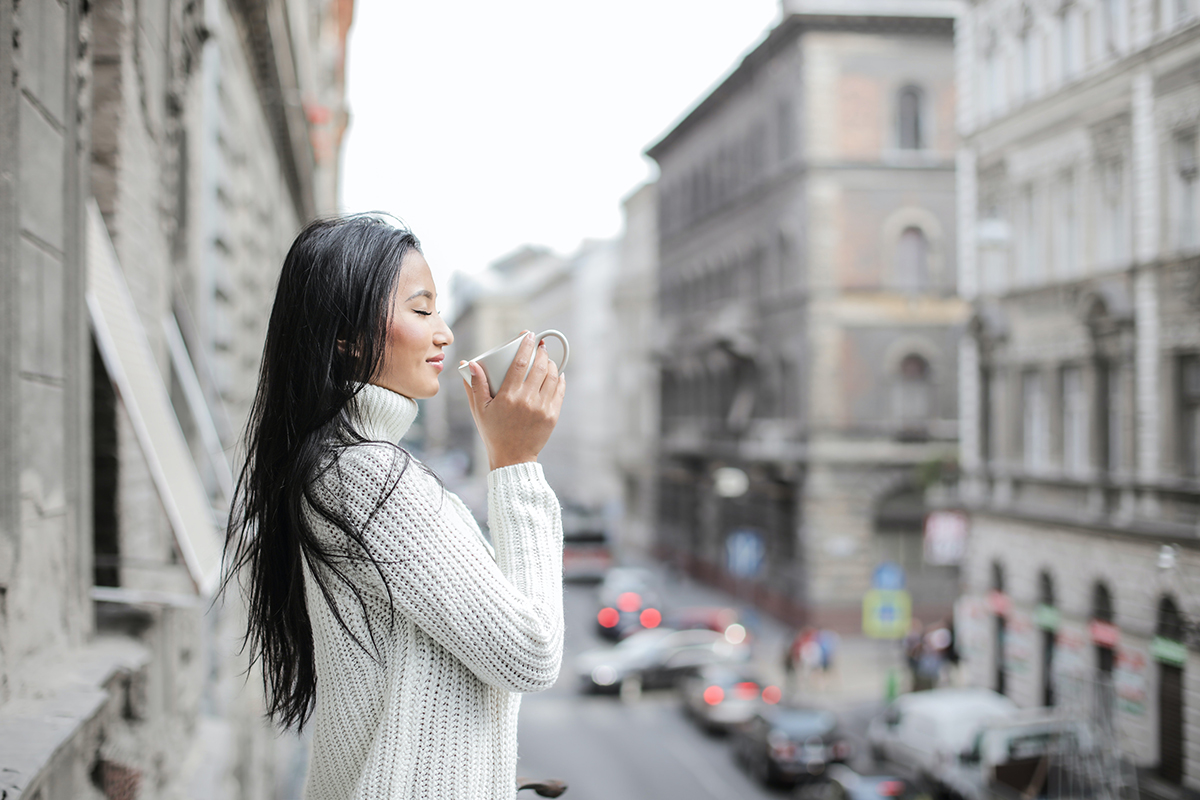

I don’t think there’s ONE post here on the blog where I have not talked, at some point, about the importance of natural light in photography! hahaha! So here’s one more for the bunch ☀☀☀
If you have the option of taking the photo outdoors, or anyplace where there’s abundant natural sunlight, do so. Because the quality of the photo will be better and everything will look more beautiful! If you have professional photography lights or even a studio available to take your pictures in, then of course that will also do the trick 😉❤
2. Improve photo brightness using an app
If natural/abundant light is not an option, you can always brighten up the image a little by editing the pic with an app.
I wondered if I should recommend apps to increase the light in the photos or show a step by step guide, but this resource is literally in ALL edit apps, software etc. So you can pick your favorite! The phone image editor itself even has this tool.


Oh, and please remember: this edit should be used carefully. Don’t overdo it. Just a little bit of light will enhance the photo and that’s all we need to worry about at this point.
This is our feed with the first step completed:

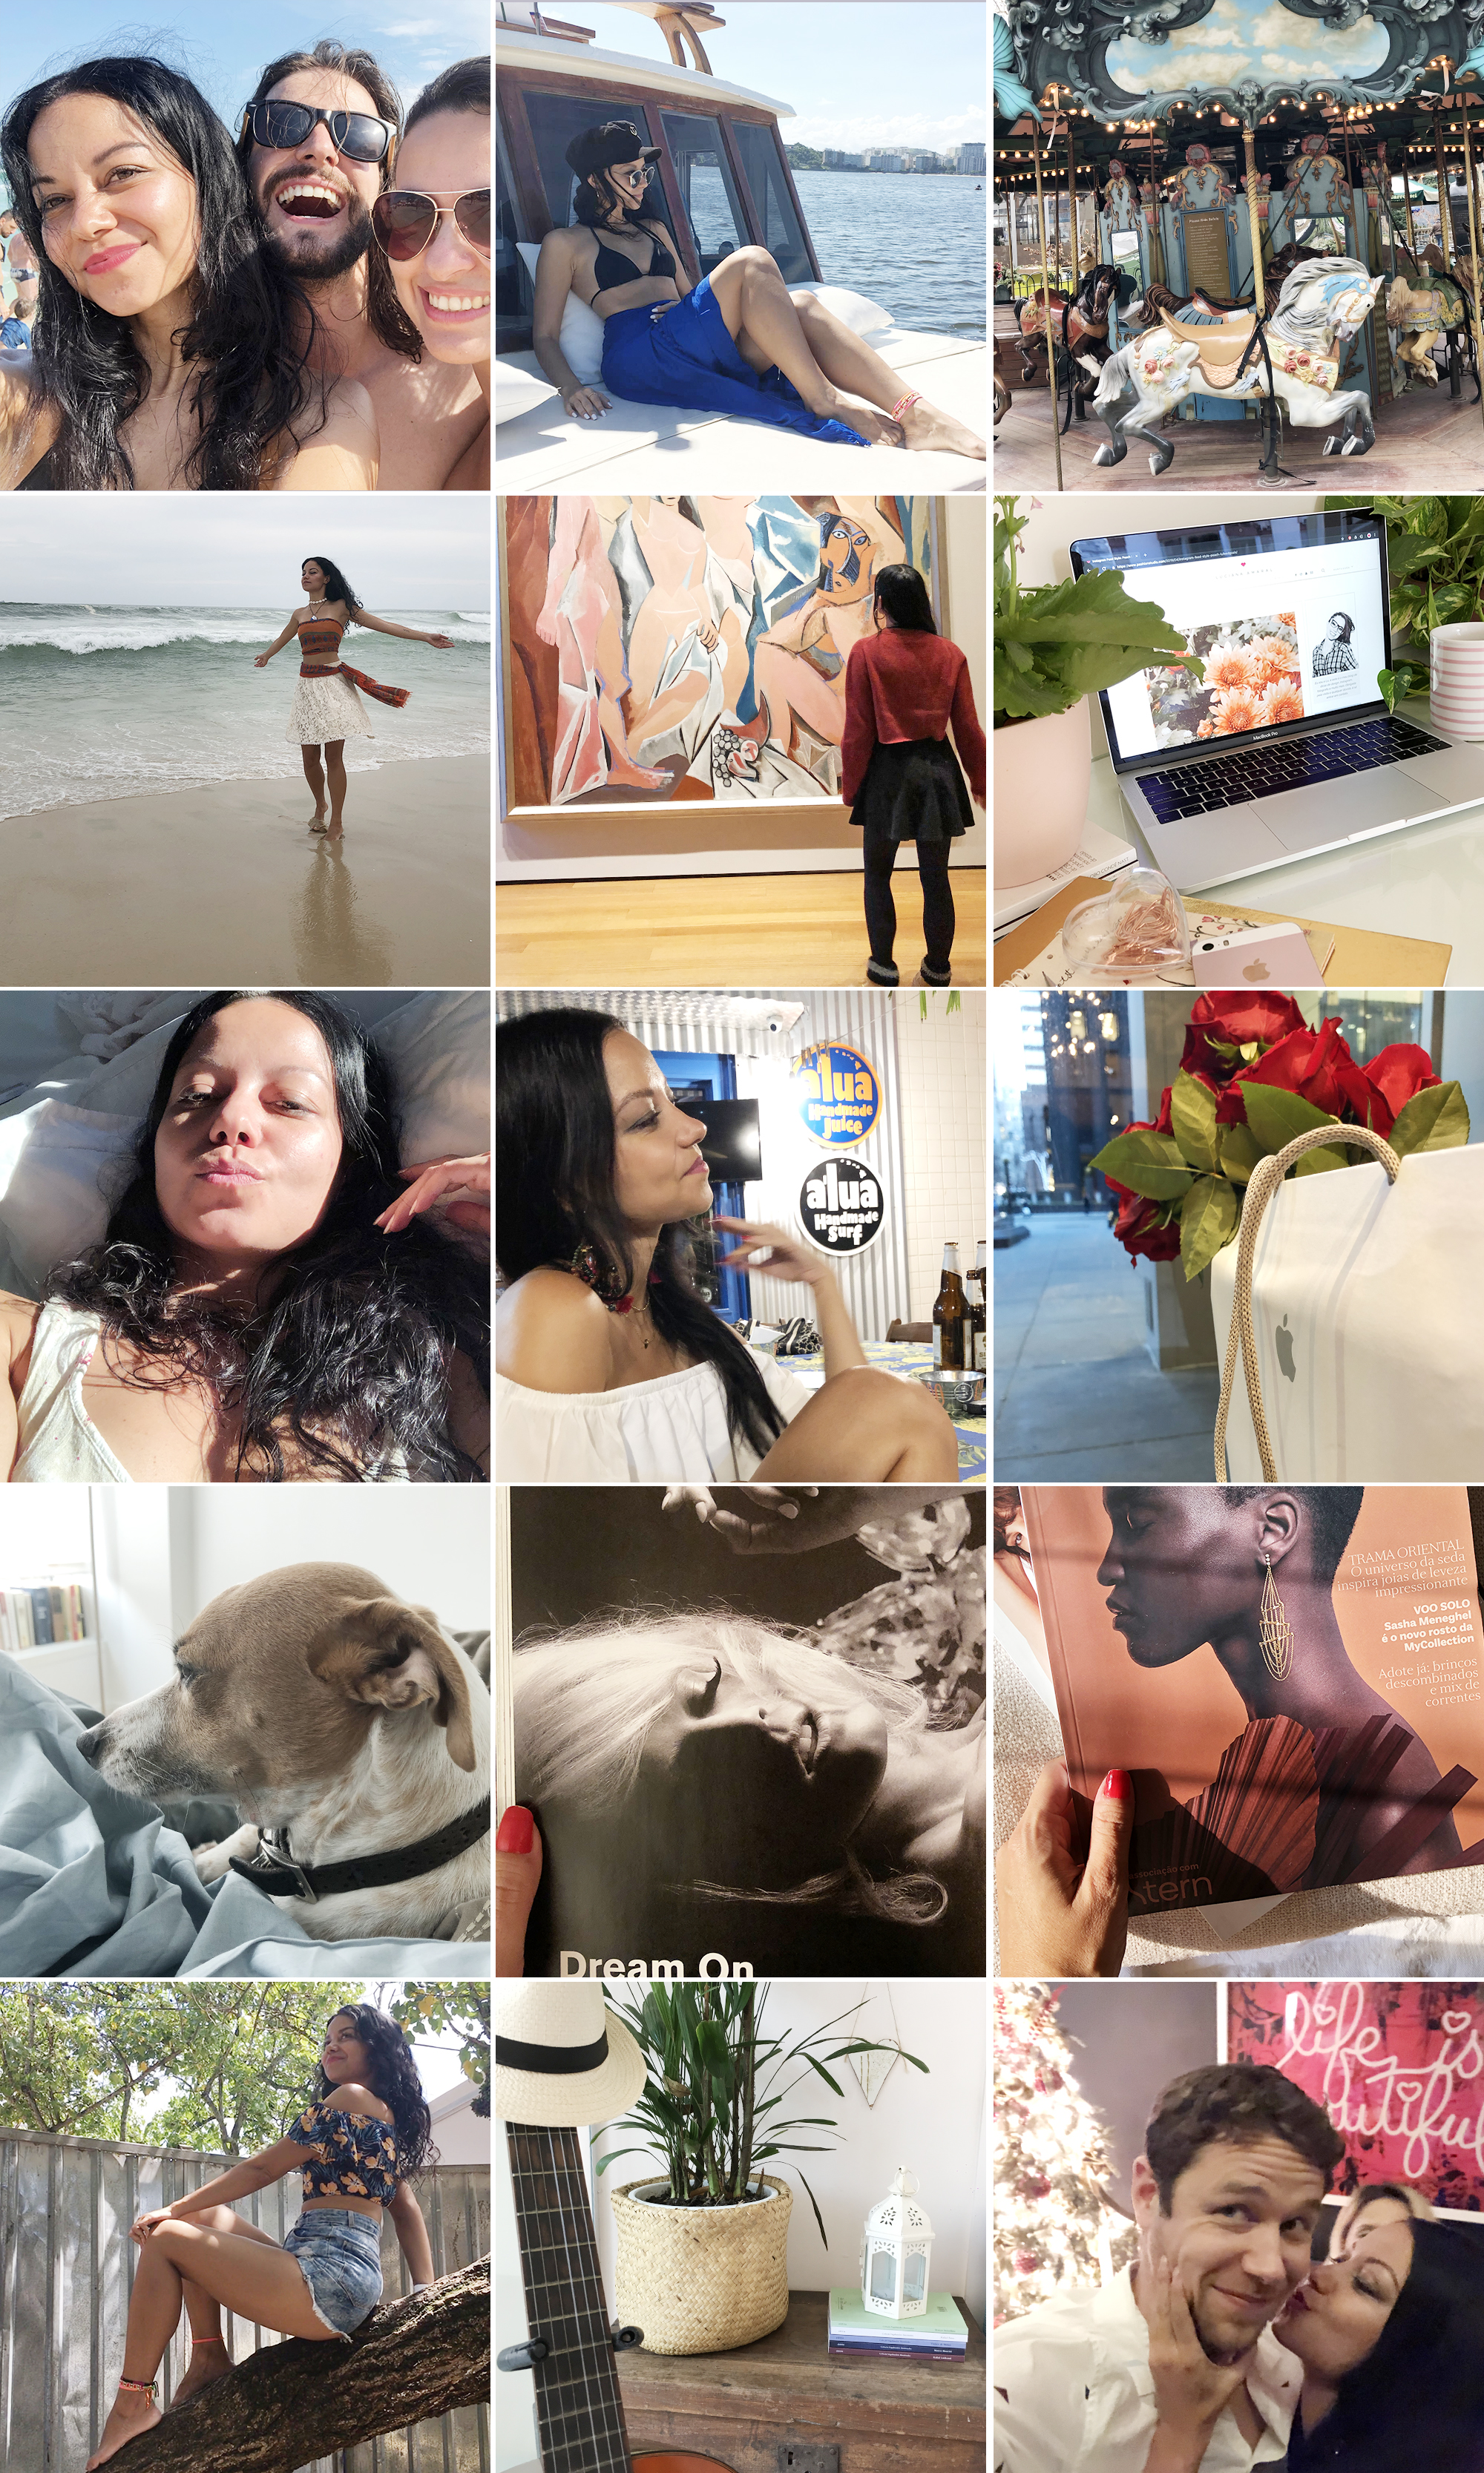

Easy, right? And it seems so insignificant, some people actually despise it and end up not doing it. But girls, it is the combination of all the steps that will built the final result, okay? Every little thing makes a big difference in the end 💖✨
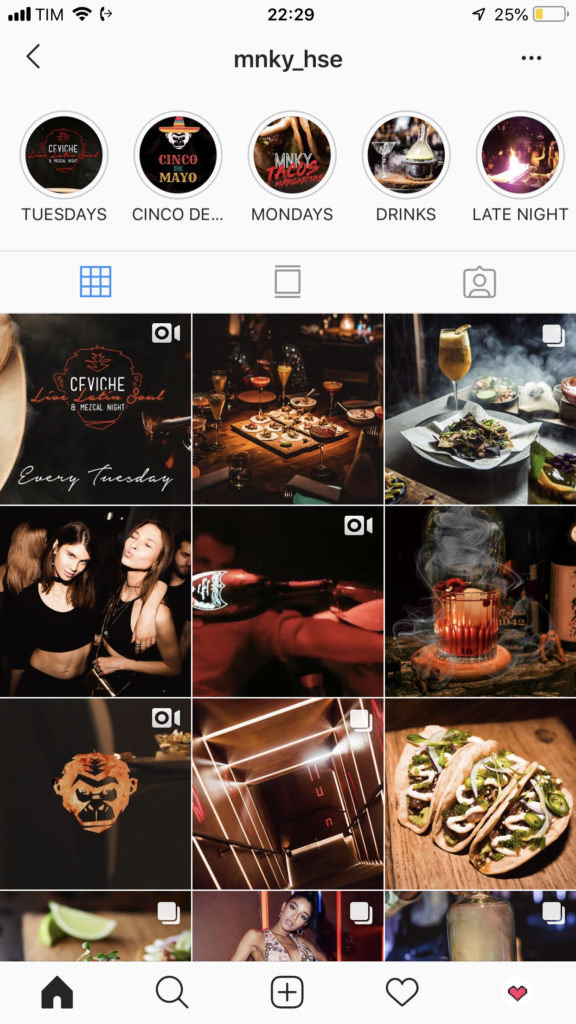
If you love a darker aesthetic, or maybe your Insta has a dark overall vibe, or if for any other reason you find that well-lit pictures are not the best option for you, there’s no problem at all.
Here on this post I present bright feeds as it usually enhances the feed visuals pretty well, but it’s definitely not the only possible option!

Note 1. I know that everything is easier having the 15 photos ahead to assemble an organized feed. In real life, especially for those who have a non-professional Instagram account, posts come out of nowhere, there’s no way to plan it like this.
Note 2. If your goal is a SUPER BRIGHT feed, just increasing the brightness of the photos won’t be enough. You’ll need to actually take photos with primarily white areas, use/look for white or bright backgrounds to shoot your pics, etc. I wrote a whole post about that, you can read it here.
Cooling down the tint of the photo and removing some of the saturation also helps it look lighter. But I’ll talk about that on post 4 of the series 💡
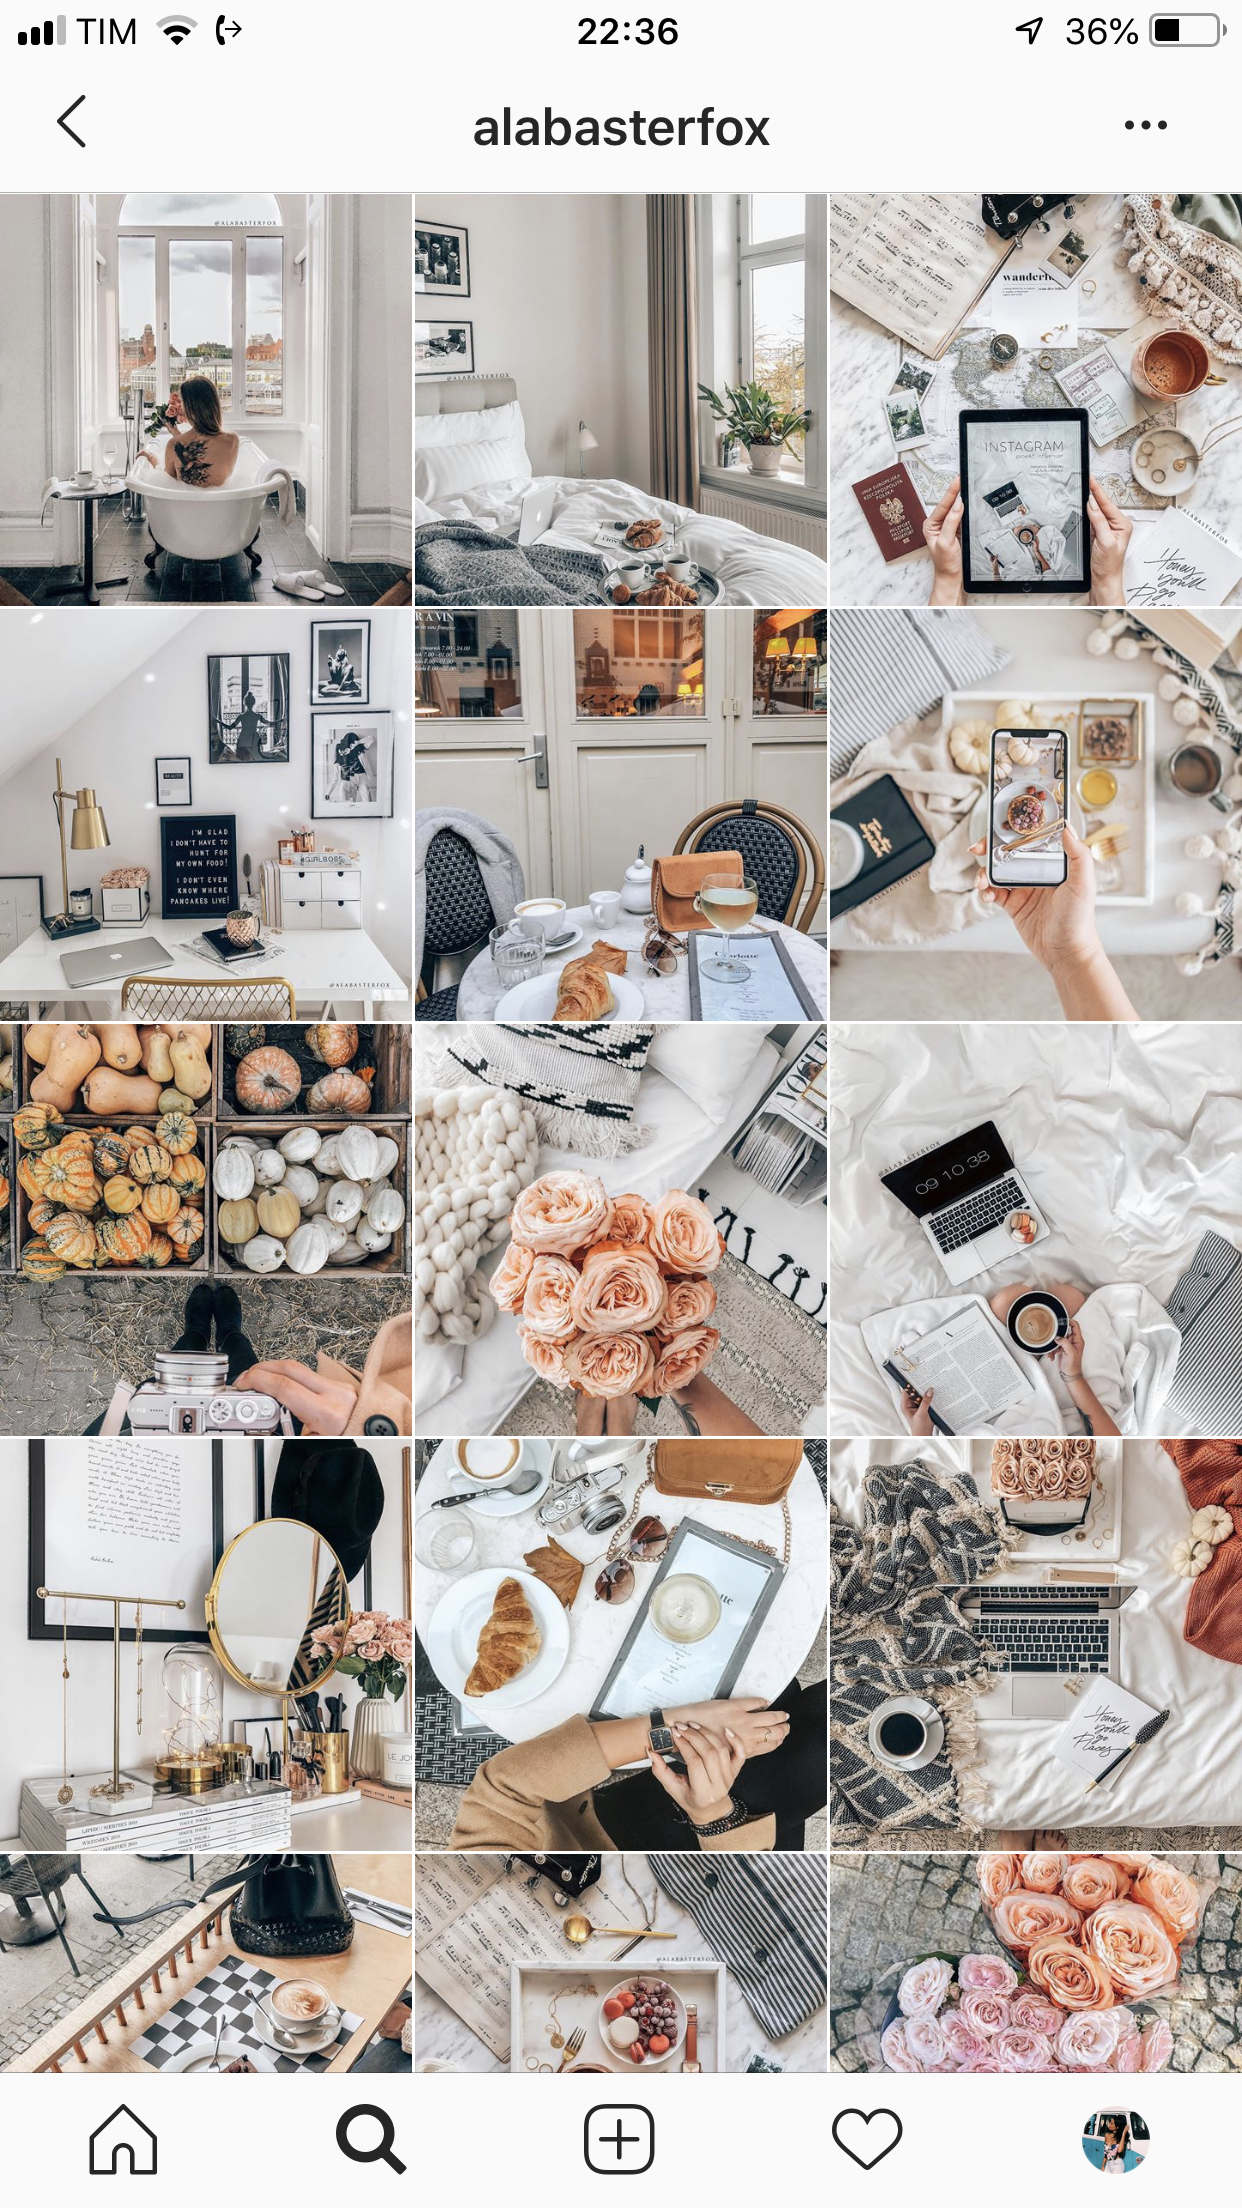
Beautiful white background Instagram feed:

Tomorrow I’ll post second part of this beautiful special, girls! If you liked it, leave a comment please 🙏🏽💗☺
Update: Check out the other posts of the series below:
2. Alignment
3. Distribution
4. Filters
5. Uniqueness
Beijos,
Lu

Discover more from The Aesthetic Shop
Subscribe to get the latest posts sent to your email.
